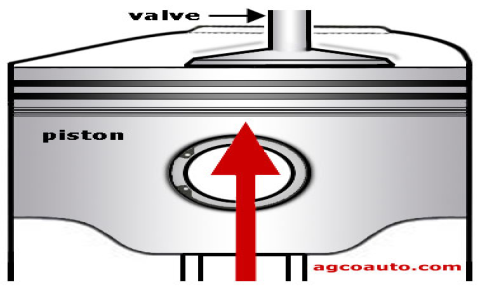
For the 2003 Buick LeSabre with the standard 3.8L V6 engine (L36), the serpentine belt routing is essential for proper operation of the alternator, power steering pump, air conditioning compressor, and idler pulleys. Below is the diagram and key steps:
2003 Buick LeSabre Serpentine Belt Diagram
The routing follows a specific path around six pulleys (viewed from the front of the engine):
- Crank Pulley (CR) - Large bottom pulley.
- Idler Pulley (ID) - Top-left smooth pulley.
- Air Conditioning Compressor (AC) - Bottom-left grooved pulley.
- Power Steering Pump (PS) - Middle-right grooved pulley.
- Tensioner Pulley (TEN) - Smooth pulley with spring-loaded tensioner mechanism.
- Alternator (ALT) - Top-right grooved pulley.
Routing Path:
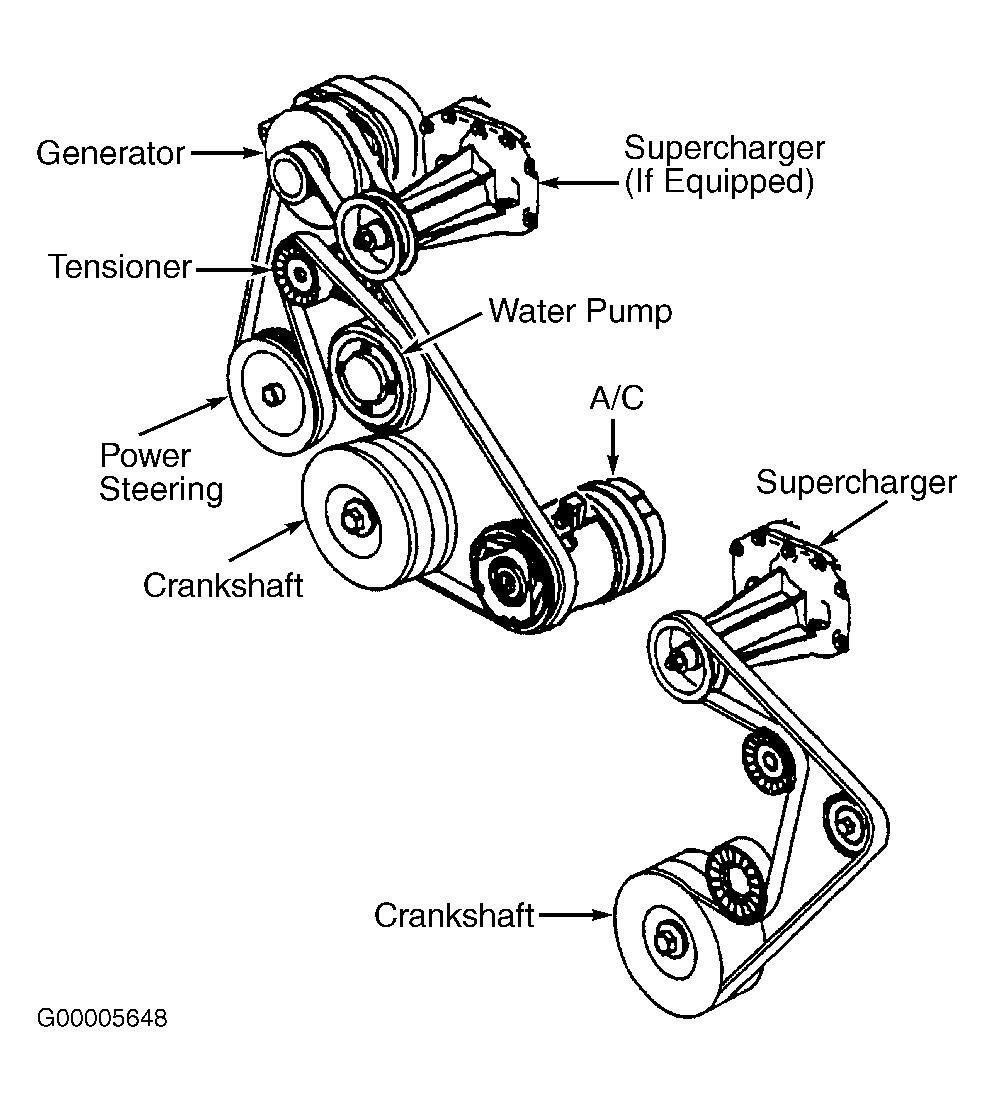
- Start at the Crank Pulley (CR) - Belt rides on the outer groove.
- Go clockwise (driver's side perspective) up and over the Idler Pulley (ID) (smooth side).
- Down clockwise to the Air Conditioning Compressor (AC) (inner groove).
- Up clockwise to the Power Steering Pump (PS) (inner groove).
- Right across to the Tensioner Pulley (TEN) (smooth side).
- Down clockwise to finish at the Alternator (ALT) (inner groove).
Tip: Trace the old belt's path or sketch it before removal. Replace with GM Part # 890K45 (or equivalent 6-rib belt, ~89 inches long, 6PK2270).
Replacing the Belt in 5 Minutes
- Locate the Tensioner: Find the spring-loaded serpentine belt tensioner, typically the top-right pulley assembly.
- Release Tension: Insert a 3/8" drive ratchet or breaker bar firmly into the square socket on the tensioner arm. Rotate the tensioner arm firmly clockwise approximately 1/4 turn to release belt tension. This creates slack.
- Remove Old Belt: While holding tension, slide the belt off one of the easily accessible pulleys (like the idler). Carefully release the tensioner slowly. Remove the old belt completely.
- Route New Belt: Position the new belt over all pulleys EXCEPT the tensioner pulley first. Use the diagram path strictly. Ensure ribs seat correctly in pulley grooves.
- Apply Tension: Insert the tool back into the tensioner socket. Rotate clockwise again to create slack. Slide the belt onto the tensioner pulley groove. Slowly release the tensioner – the belt will automatically tension.
- Verify Installation: Rotate engine crankshaft clockwise 2 full turns using a socket/wrench (ignition OFF!). Ensure the belt stays centered on all pulleys without rubbing or jumping. Check routing against the diagram one final time.
CAUTION: Always disconnect the negative battery terminal before service. Ensure tools are clear before starting the engine. Incorrect routing or installation damages components. Refer to your vehicle's service manual for confirmation.