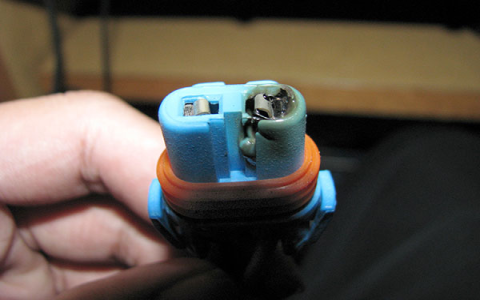
Common GM Headlight Switch Problems
GM headlight switches often fail due to worn contacts, corrosion, or electrical shorts. Symptoms include intermittent lighting, flickering headlights, complete failure to turn on, or stuck settings.
Diagnostic Steps
First, confirm the issue isn't a fuse or bulb problem. Test fuse continuity and bulb functionality.
- Use a multimeter to check for 12V at the switch input.
- Verify ground connections are secure and free of corrosion.
Wiring Diagram Essentials
GM wiring diagrams typically show: power input from the fuse box, ground paths, and outputs to dimmer, high/low beams. Key terminals include:
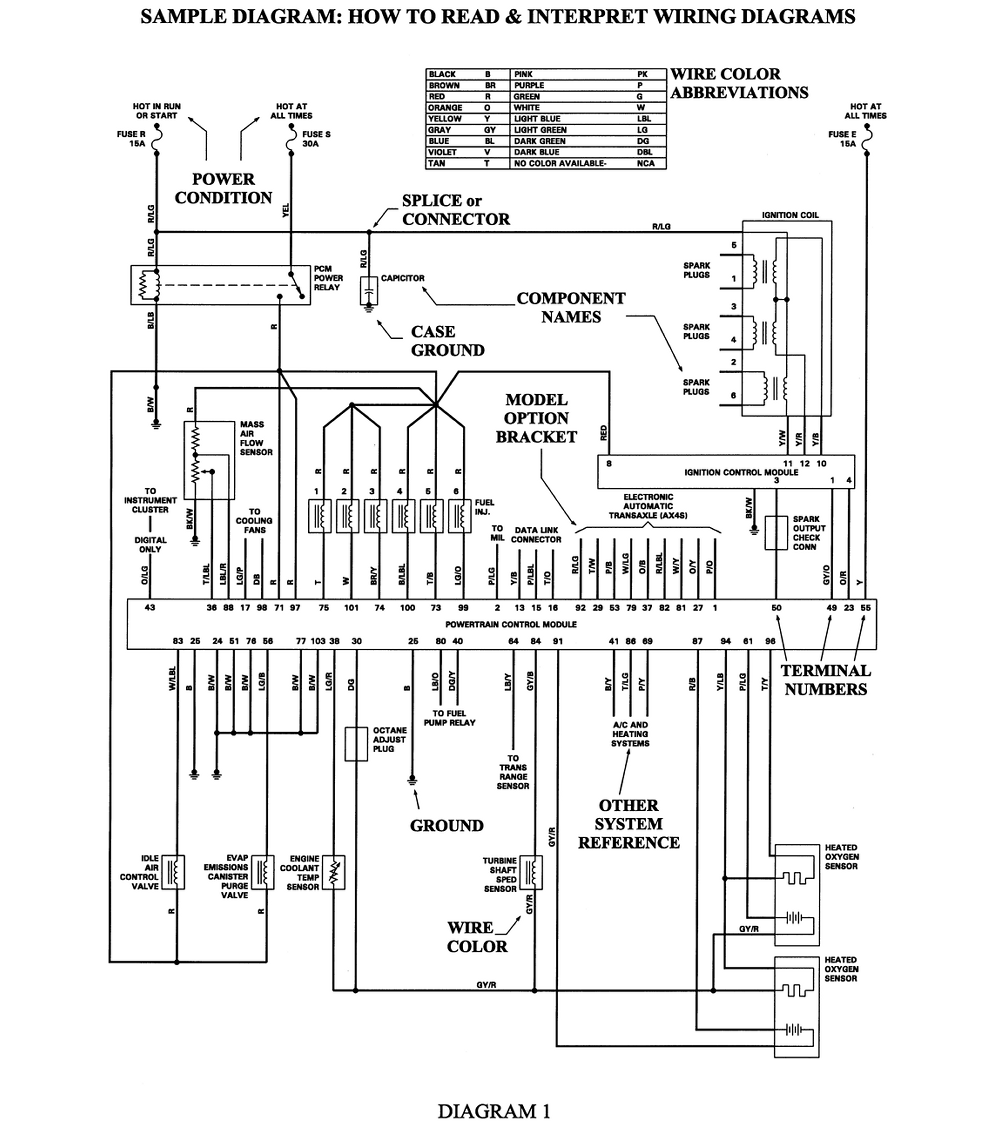
- Terminal A: Constant 12V power source.
- Terminal B: Dimmer control output.
- Terminal C: High-beam output.
Refer to your vehicle's specific diagram for exact wiring codes.
Repair Procedures
Disconnect the battery before starting to prevent shorts. Replace a faulty switch if diagnostics confirm it.
- Remove the old switch and inspect wires for damage.
- Splice new wires using crimp connectors if necessary.
- Reconnect per the diagram and test functionality.
Safety Precautions
Wear insulated gloves and avoid working on a live circuit. Ensure all connections are tight to prevent fire hazards.