Purpose of the Routing Diagram
A serpentine belt powers essential components in your 2004 Honda CR-V, such as the alternator and air conditioning compressor. The routing diagram provides a visual guide to prevent incorrect installation, ensuring optimal performance and avoiding damage.
Finding the Correct Diagram
Refer to your vehicle owner manual for the official diagram. Alternatively, reliable repair manuals or diagrams labeled for the 2004 Honda CR-V offer precise belt paths, depicting pulley layouts clearly.
Interpreting the Diagram
- Locate key pulleys: crankshaft, alternator, tensioner, and air conditioning compressor as marked.
- Follow directional arrows showing the belt path; ensure all grooved pulleys are covered correctly.
Step-by-Step Belt Replacement
Preparation: Park on level ground, engage the parking brake, and disconnect the battery for safety.

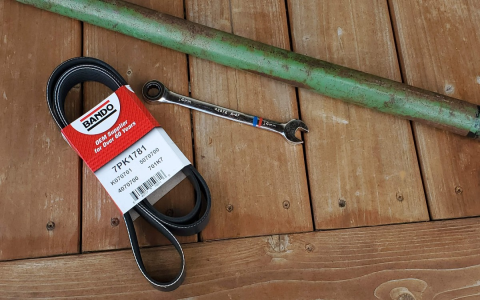
- Release tension using the belt tensioner tool or wrench; rotate the tensioner pulley to slacken the old belt.
- Remove the old belt and compare it to the new one for size confirmation.
- Route the new belt using the diagram: start at the crankshaft pulley and follow the sequence precisely.
- Reapply tension by rotating the tensioner pulley back; verify all pulleys engage without slippage.
- Start the engine to check for smooth operation; ensure no squealing or misalignment.
Maintenance Tips
Inspect the belt every 25,000 miles for cracks or wear. Use only belts specified for the 2004 Honda CR-V to guarantee proper fit and longevity.