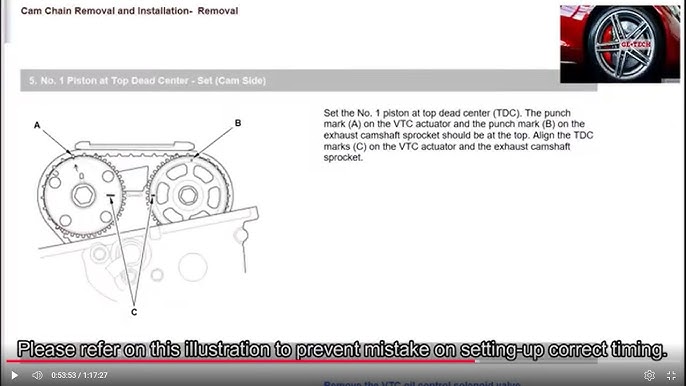
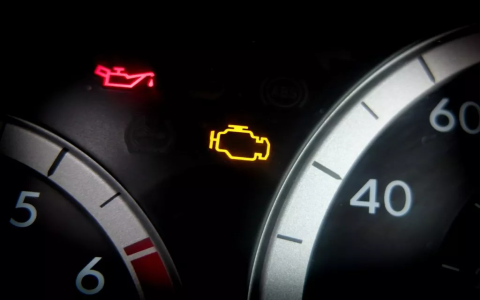
The P1009-00 diagnostic trouble code indicates a Variable Valve Timing (VVT) system performance error, specifically a malfunction within the camshaft position actuator solenoid control circuit. This issue predominantly affects Dodge vehicles equipped with the 3.6L Pentastar engine. Ignoring this code can lead to reduced power, poor fuel economy, rough idling, and potential internal engine damage.
Required Tools & Safety
- OBD-II Scanner (capable of reading Chrysler-specific codes and live data)
- Digital Multimeter (DMM)
- Basic Hand Tools (wrenches, sockets)
- Safety Glasses & Gloves
Warning: Always disconnect the negative battery terminal before working on electrical components. Allow the engine to cool completely.
Diagnostic & Repair Procedure
Step 1: Verify Code & Check Freeze Frame Data

Use your OBD-II scanner to confirm the presence of P1009-00. Record freeze frame data to determine the exact engine conditions when the fault triggered. Clear the code. Perform a test drive: if the code returns immediately, proceed; if intermittent, monitor VVT solenoid data.
Step 2: Inspect Wiring & Connectors (Primary Focus)
Locate the VVT solenoids (typically mounted near the front valve covers).
- Visually inspect: Check both solenoids' wiring harnesses for chafing, cuts, burns, or corrosion from the solenoid back to the Engine Control Module (ECM) connector.
- Check connectors: Inspect for bent pins, corrosion, or loose terminals at the solenoid connectors and the ECM. Pay special attention to water intrusion signs.
- Perform wiggle test: With the engine running (if possible without misfire), gently wiggle the harness near solenoids and the ECM while monitoring for code recurrence or solenoid duty cycle fluctuations.
Step 3: Test VVT Solenoid Resistance
Disconnect the harness connector from one VVT solenoid.

- Set DMM to measure Ohms (Ω). Measure resistance between the solenoid's two terminals.
- Specification: Expect 5-8 Ω at room temperature (20-25°C / 68-77°F). Values outside this range indicate a faulty solenoid.
- Repeat for the opposite bank solenoid. Replace any solenoid not meeting specification.
Step 4: Check VVT Solenoid Control Circuit (Requires DMM)
Disconnect the main ECM connector (consult service manual for location/pinning).
- Check continuity: Test continuity between the control wire pin at the suspect VVT solenoid connector and the corresponding ECM pin. Wiggle the harness during testing. Expected: Less than 5 Ω (near 0 Ω). High resistance or open circuit requires harness repair.
- Check for short to ground: Measure resistance between the solenoid control wire and engine ground. Expected: Infinite resistance (OL). Any low resistance indicates a short.
- Check for short to power: With ignition ON (engine OFF), probe the control wire at the disconnected solenoid connector. Expected: 0V (low reference). If battery voltage is present, a short to power exists.
Step 5: Check Reference Voltage & Ground Circuit
(With VVT solenoid connector disconnected and ignition ON)
- Reference Voltage: Probe the reference voltage wire (typically Violet/Gray or Violet/Yellow stripe). Expected: Approximately 5V (±0.5V). No voltage indicates an open circuit or ECM issue.
- Ground Circuit: Check resistance between the solenoid ground wire (typically Black/Dark Blue) and a known good engine ground. Expected: Less than 5 Ω.
Step 6: Inspect Oil System & Phasers

Critical: Faulty solenoids and wiring are the most common causes of P1009-00. If all electrical checks pass, mechanical issues are likely.
- Check oil level and quality: Low oil level or severely degraded/contaminated oil prevents VVT system operation. Verify correct oil viscosity (5W-20 or specified). Perform an oil change if overdue or suspect.
- Inspect oil pressure: Use a mechanical gauge to verify sufficient oil pressure at operating temperature across all RPMs.
- Check for timing chain issues: Excessive chain stretch can cause VVT phaser correlation problems.
- Investigate phaser failure: Persistent P1009-00 after electrical repair may indicate worn/binding VVT phasers. Requires component rattle test and cam/crank correlation monitoring.
Step 7: Solenoid Replacement & Final Steps
- Ensure the engine is cool. Clean the area around the solenoid thoroughly.
- Remove the mounting bolt (typically an 8mm head or T25 Torx).
- Extract the old solenoid. Replace the O-ring seal with the new one provided in the kit. Apply a light coat of clean engine oil to the new O-ring.
- Install the new solenoid and torque the mounting bolt to specification (usually 8-10 Nm / 6-7 ft-lbs).
- Reconnect all electrical connectors securely. Reconnect the negative battery terminal.
- Clear any stored codes. Perform a test drive cycle to verify repair and monitor live VVT data for proper commanded vs. actual position.

