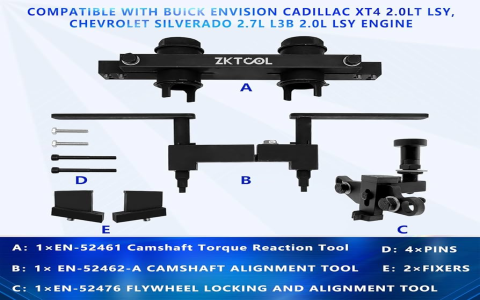
Aligning timing marks on a Chevy 4.3L V6 requires precision to prevent engine damage. Follow these steps:
Tools & Precautions
- Ensure the engine is cool.
- Basic hand tools (wrenches, sockets, torque wrench).
- New crankshaft balancer bolt (often TTY).
- New timing cover gasket/seal set recommended.
Alignment Procedure
- Position Engine: Rotate the crankshaft clockwise using a socket on the balancer bolt until the #1 piston is at Top Dead Center (TDC) of its compression stroke. The crankshaft keyway must be pointing straight up (12 o'clock position).
- Remove Components: Safely remove the serpentine belt, crankshaft balancer/pulley (using a puller), and timing chain cover.
- Locate Timing Marks:
- Crankshaft Sprocket: Identify the single, distinct dimple or notch on the sprocket's inner flange.
- Camshaft Sprocket: Identify the single, distinct dimple or notch cast into the sprocket near the outer edge.
- Timing Chain: Some chains have brightly colored links (often gold or copper).
- Align Sprockets:
- The crankshaft sprocket dimple must be positioned at 12 o'clock (aligned with the crankshaft centerline).
- Rotate the camshaft slightly as needed so the camshaft sprocket dimple is positioned at 6 o'clock (directly opposite the crankshaft mark).
- If the chain has colored links, they should align precisely with the dimples on both sprockets (one colored link per sprocket dimple).
- Balance Shaft (If Equipped): Engines with balance shafts must have the balance shaft gear timing mark aligned. Rotate the shaft until its single dot/punch mark is at the 12 o'clock position, meshing correctly with the camshaft gear's corresponding alignment mark.
- Install & Tension Chain: Slip the timing chain onto both aligned sprockets. Install the tensioner shoe/assembly per manufacturer specs and apply tension (usually by releasing the tensioner ratchet).
- Reassemble: Clean all gasket surfaces meticulously. Install the timing cover with a new gasket/seal. Reinstall the crankshaft balancer/pulley using the new bolt, torquing it to specification (often in stages, and may require a final angle torque).
- Final Verification: Slowly rotate the crankshaft through two full revolutions clockwise by hand. Recheck that both sprocket timing marks realign perfectly at TDC (crank key at 12 o'clock, cam mark at 6 o'clock). If marks do not realign, disassemble and correct immediately. Install all remaining components.
Critical Note: Improper alignment will cause significant valve/piston damage. Double-check all marks before final assembly and after rotating the engine.

