Safety First: Disconnect the negative battery terminal before starting. Gather tools: wire stripper/cutter, crimp connectors or soldering iron, electrical tape or heat shrink tubing, and a DIN radio removal tool kit. Consult your specific Explorer year model service manual for precise dashboard disassembly instructions.
Understanding the Wiring Diagram
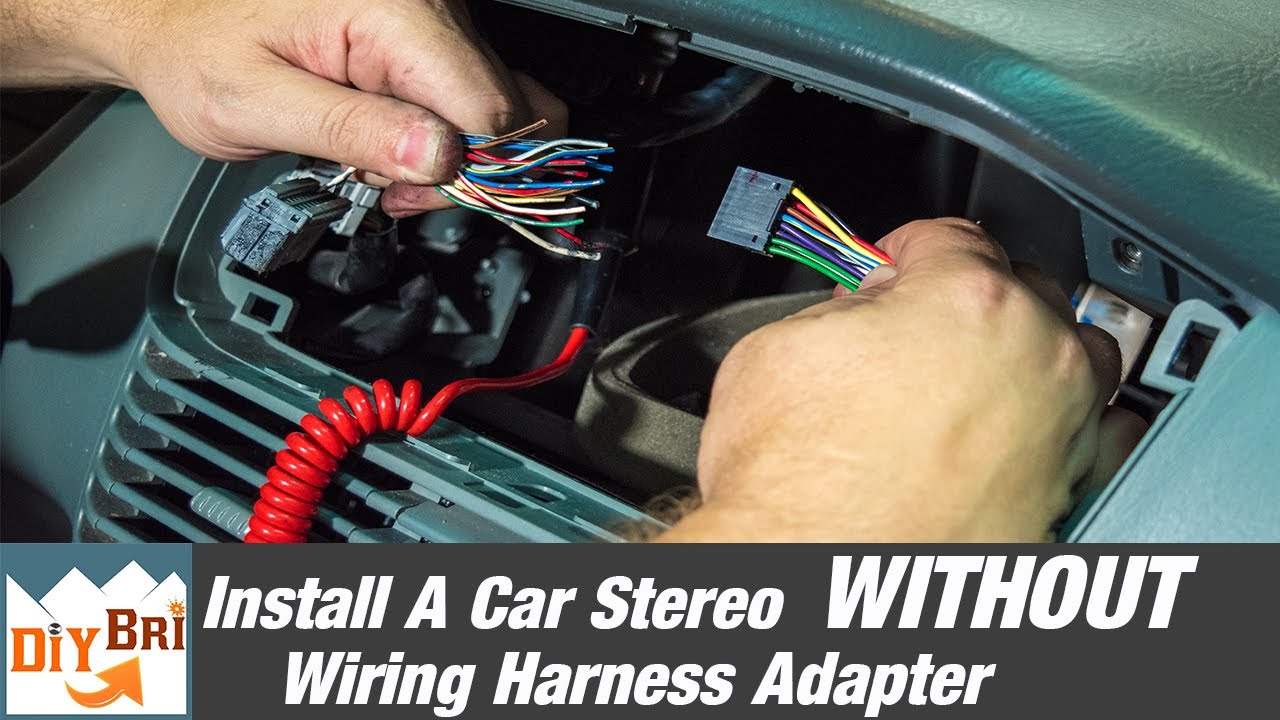
Identify two main wiring groups:
- Vehicle Harness: Factory wires left after removing the old radio.
- Aftermarket Radio Harness: The plug with wires included with your new radio.
Purpose: Connect matching signal/functions on both harnesses.
Step-by-Step Installation
1. Remove Factory Radio:
- Use removal tools to extract the factory radio per model instructions.
- Unplug all electrical connectors and antenna cable from the back.
2. Prepare Harnesses:
- Obtain a compatible aftermarket wiring harness adapter for your Explorer year.
- Identify wires using standard color coding (refer to manufacturer diagrams):
- Constant 12V+ (Battery): Usually Yellow (Radio) / Yellow (Vehicle).
- Switched 12V+ (Ignition/Accessory): Usually Red (Radio) / Red or Yellow/Green (Vehicle).
- Ground: Usually Black (Radio) / Black or Black/Light Green (Vehicle).
- Illumination/Dimmer: Often Orange/White (Radio) / varies (Vehicle, check manual).
- Power Antenna: Usually Blue (Radio) / Blue or Blue/Red (Vehicle).
- Amplifier Remote Turn-On: Usually Blue/White (Radio) / varies.
- Speaker Wires: Paired colors (e.g., White/White-Black = Left Front +/-, Gray/Gray-Black = Right Front +/-). Polarity must match.
- Do NOT rely solely on colors; verify functions with a multimeter.
3. Connect Wires:
- Connect corresponding wires from the aftermarket radio harness to the vehicle-specific adapter harness. Use the diagram labels.
- Best Method: Solder and insulate each connection with heat shrink tubing.
- Alternate Method: Use quality crimp connectors and electrical tape.
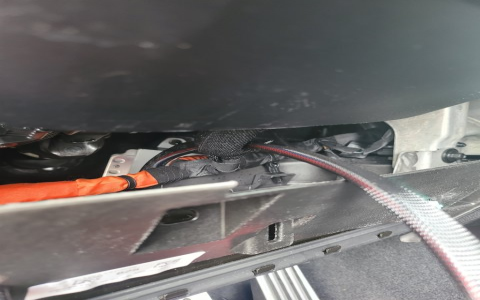
- Essential Connection: Attach the adapter harness ground wire securely to exposed chassis metal.
4. Secure and Reassemble:
- Plug the vehicle-specific adapter harness into the Explorer's factory radio connector.
- Plug the antenna cable and any other necessary connectors (e.g., steering wheel control adapter) into the new radio.
- Securely mount the new radio using the provided sleeve/bracket kit.
- Carefully tuck wires into the dashboard cavity to prevent rattling and pinching.
- Slide the radio into place until it clicks/locks.
- Reinstall trim panels and vents.
Testing
Before Full Reassembly:
- Reconnect the battery negative terminal.
- Turn the ignition to ACC/ON (don't start engine).
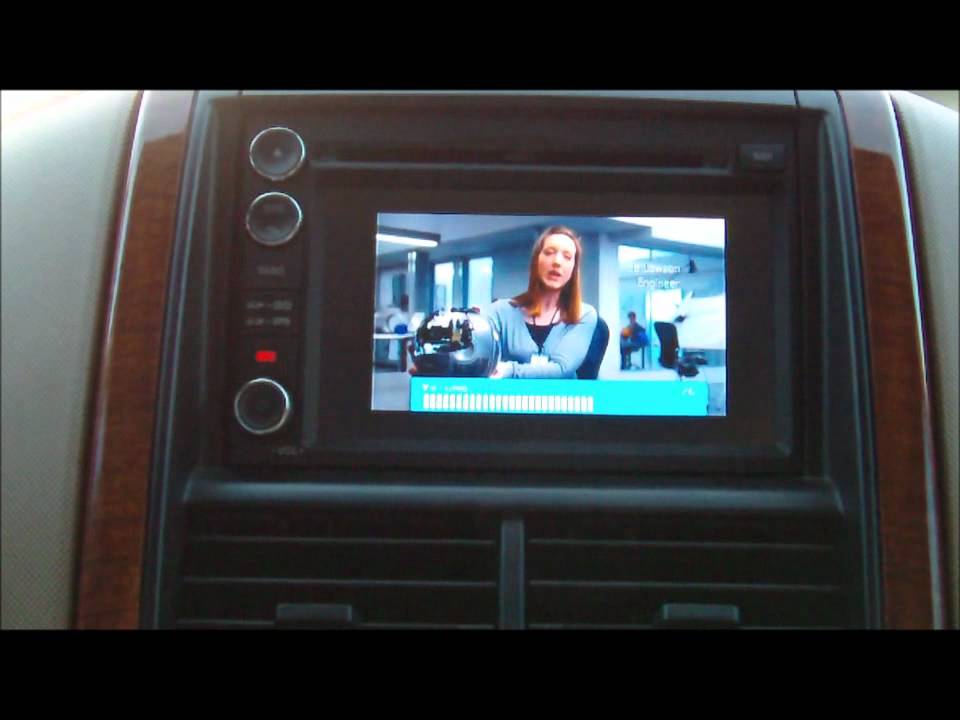
- Test Radio Power: Verify radio powers on with ACC and retains memory with ignition off.
- Test All Speakers: Check each speaker individually for sound and correct side (left/right) and no distortion (indicating wiring issues).
- Test Functions: Illumination dimming (if applicable), power antenna extension, steering wheel controls.
- Important: Resolve any issues found before final reassembly.