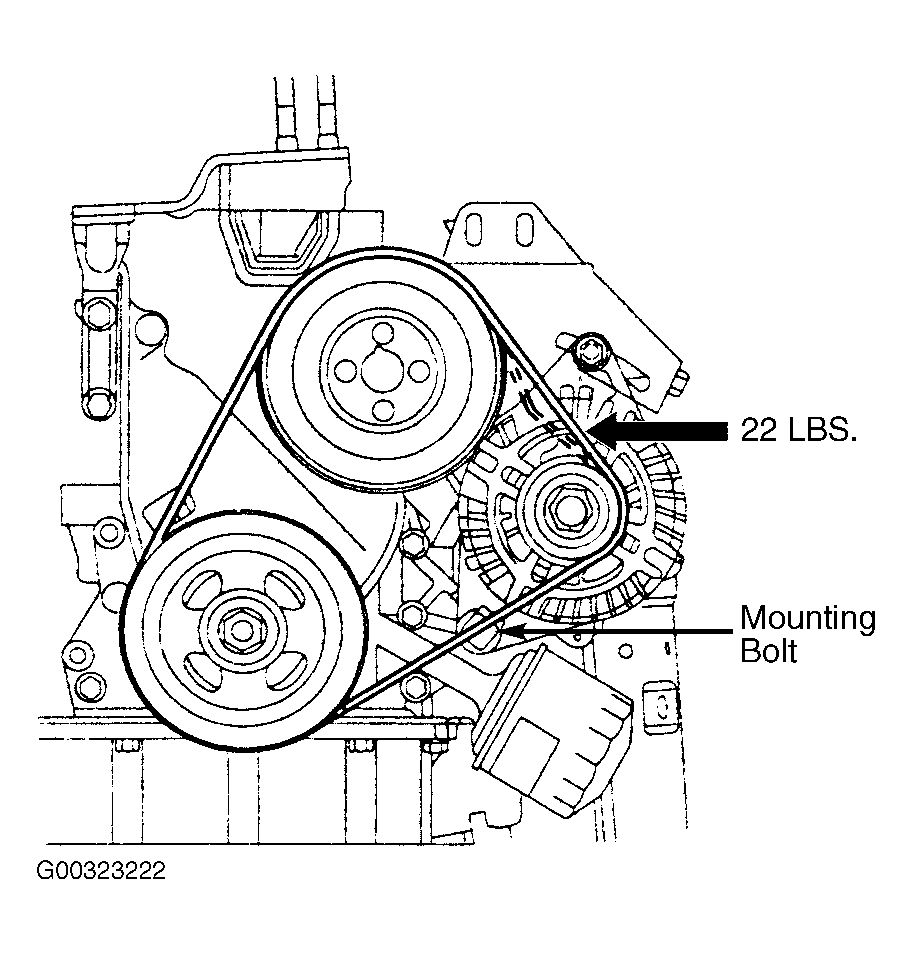
The accessory drive belt routing for the 2006 Kia Spectra varies slightly depending on whether it's equipped with the 2.0L SOHC (16V) or DOHC (16V) gasoline engine. Correct belt routing and tensioner operation are essential.
Belt Routing Diagrams
For 2.0L SOHC (16V) Engine:
- Starting at the Crankshaft Pulley: The belt wraps clockwise around the lower crank pulley groove.
- To Water Pump Pulley: Travels upward and to the right, wrapping clockwise around the water pump pulley.
- To Idler Pulley: Travels left and slightly down to wrap clockwise around the dedicated idler pulley (typically located near the alternator).
- To Alternator Pulley: Moves directly left to wrap clockwise around the alternator pulley.
- To Automatic Tensioner Pulley: Travels downward to wrap clockwise around the smooth tensioner pulley.
- Back to Crankshaft Pulley: Completes the loop downward to the starting point on the crank pulley.
For 2.0L DOHC (16V) Engine:
- Starting at the Crankshaft Pulley: The belt wraps clockwise around the lower crank pulley groove.
- To Automatic Tensioner Pulley: Travels directly upward to wrap clockwise around the smooth tensioner pulley.
- To Alternator Pulley: Moves right and slightly down to wrap clockwise around the alternator pulley.
- To Water Pump Pulley: Travels downward and left to wrap clockwise around the water pump pulley.
- To Power Steering Pump Pulley (if equipped): Continues upward and right to wrap clockwise around the PS pump pulley (some models route directly to crank).
- Back to Crankshaft Pulley: Completes the loop down to the starting crank pulley groove.
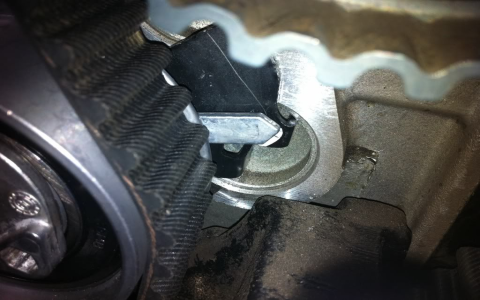
Tensioner Location & Operation
The automatic belt tensioner is a critical component:
- Located on the front of the engine, typically positioned above the crankshaft pulley and slightly to the driver's side (USA left-hand-drive orientation).
- It is a spring-loaded pulley mounted on an adjustable arm. The pulley itself has a smooth surface where the backside (flat) of the serpentine belt rides.
- Function: Maintains constant, correct belt tension via an internal spring. It automatically compensates for belt stretch and component wear.
- To Release Tension: Insert a suitable socket wrench or breaker bar into the square (1/2" or 3/8") drive hole on the tensioner arm. Apply firm pressure clockwise (when facing the engine front) against the spring force until the tension on the belt is released sufficiently to remove or install the belt. Do not force it beyond its designed travel. Slowly release the tensioner after the belt is routed correctly.
Key Components & Notes
- Crankshaft Pulley: Largest pulley, drives the entire system. Belt grooves face outward.
- Grooved Pulleys: Alternator, Power Steering Pump (if separate), Water Pump, Air Conditioning Compressor (uses grooves). The belt's ribs contact these grooves.
- Smooth Pulleys: Tensioner Pulley, Idler Pulley (SOHC), specific routing guides. The smooth backside of the belt rides on these.
- Inspection: Always inspect the tensioner assembly for smooth rotation of the pulley (no roughness or noise when spun), damage to the arm, or signs of fluid leakage. Check the idler pulley similarly on SOHC engines. Replace if faulty.
Precautions: Always disconnect the negative battery terminal before service. Ensure the belt is fully seated in all pulley grooves. Verify tensioner function by observing belt deflection after installation and engine start.