Accurate drive belt diagrams for your Honda CR-V are essential for identifying belt routing and resolving issues efficiently. Always refer to the vehicle-specific owner's manual or a factory service manual for reliable diagrams, as improper access can cause damage.
How to Obtain the Drive Belt Diagram
Consult the CR-V owner's manual included with your vehicle, as it contains detailed diagrams. For older models or if the manual is missing, purchase a Honda-specific repair manual from authorized retailers. Online repair databases can provide diagrams, but verify sources for accuracy. Never attempt disassembly without a verified diagram to avoid errors.
Common Drive Belt Problems
- Squealing noise: Indicates slipping due to worn belt or loose tension.
- Cracks or fraying: Signs of age or exposure, leading to reduced efficiency.
- Misalignment: Causes uneven wear from pulley issues or incorrect installation.
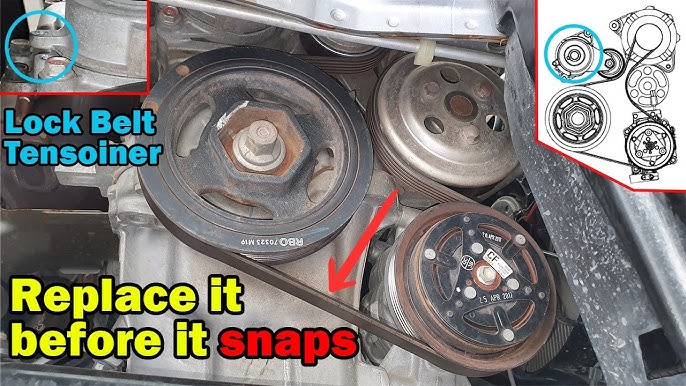
- Tensioner failure: Results in belt slack, affecting components like the alternator.
How to Fix Common Problems
- Inspect belt condition: Look for wear, cracks, or glazing every 30,000 miles; replace if damaged.
- Check tensioner: Ensure it maintains proper pressure using a tension gauge or manual test.
- Replace belt: Follow the diagram for routing; use a matching OEM part to ensure fit.
- Address pulley alignment: Correct any bent pulleys or mounts to prevent recurrence.
If problems persist, consult a professional mechanic for diagnosis, as complex issues may require specialized tools.