This DIY guide provides the belt routing diagrams and replacement steps for both 4-cylinder (5S-FE) and V6 (1MZ-FE) engine configurations in a 2002 Toyota Camry. Verify your engine type before starting.
Essential Safety Precautions
Disconnect the negative battery terminal before any work. Ensure the engine is completely cool. Set the parking brake firmly. Do not place hands near pulleys while testing after installation.
Required Tools
- 3/8" drive ratchet and breaker bar
- Appropriate sockets (typically 12mm, 14mm)
- New accessory drive belt (confirm part number for your engine)
- Work gloves and safety glasses
Accessory Belt Diagrams (Routing)
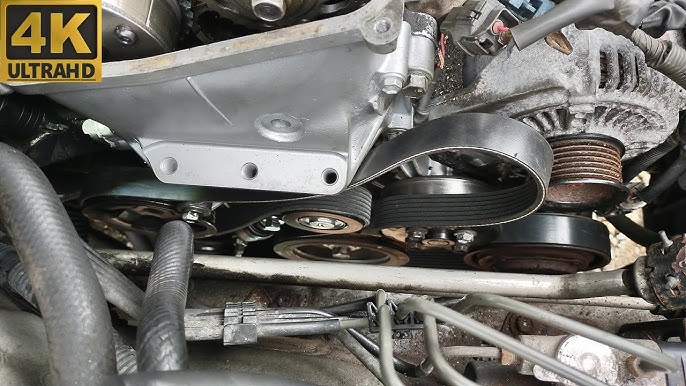
4-Cylinder Engine (5S-FE)
Belt Path:
Crankshaft Pulley → Power Steering Pump Pulley → Alternator Pulley → Air Conditioning Compressor Pulley (if equipped) → Idler Pulley → Back to Crankshaft Pulley.
Tension Adjustment: Loosen alternator pivot and lock bolts.
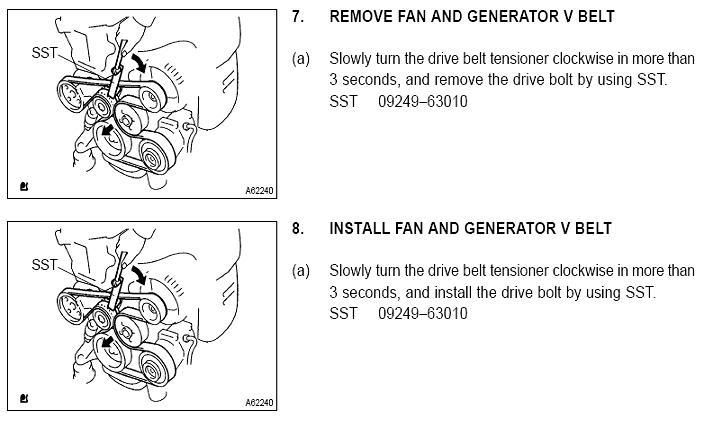
V6 Engine (1MZ-FE)
Belt Path:
Crankshaft Pulley → Automatic Tensioner Pulley → Idler Pulley → Alternator Pulley → Power Steering Pump Pulley → Air Conditioning Compressor Pulley → Back to Crankshaft Pulley.
Tension Release: Use breaker bar on tensioner pulley center bolt and rotate clockwise.
Replacement Steps
1. Locate & Inspect
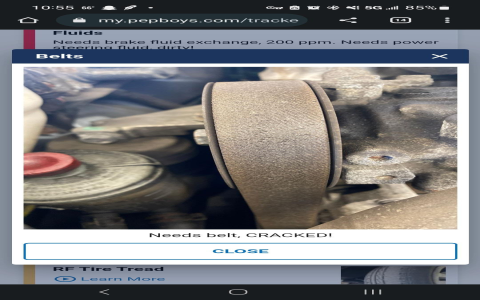
Identify the belt path using the diagrams above. Examine the old belt for cracks, glazing, fraying, or missing ribs. Note its routing meticulously. Take a reference photo if unsure.
2. Release Belt Tension
- 4-Cylinder: Loosen the alternator pivot bolt and the lock bolt slightly. Carefully pivot the alternator inward towards the engine to slacken the belt. Support the alternator.
- V6: Position the breaker bar socket on the tensioner pulley center bolt. Rotate the tensioner clockwise (against spring pressure) to release tension until the belt is loose enough to slip off a pulley.
3. Remove Old Belt
Slip the old belt off the pulleys. Do not force it.
4. Install New Belt
- 4-Cylinder: Route the new belt onto all pulleys according to the diagram, except the alternator pulley. Pivot the alternator back to its original position and thread the belt onto its pulley last.
- V6: Route the new belt according to the diagram, ensuring it sits correctly in every pulley groove. Keep the tensioner pulley for last. Rotate the tensioner clockwise again and slide the belt onto the tensioner pulley. Carefully release the tensioner.
5. Apply Final Tension
- 4-Cylinder: Tighten the alternator lock bolt first, then tighten the pivot bolt securely (approx. 22 ft-lbs). Belt deflection should be roughly 1/4 inch midway between pulleys under firm thumb pressure.
- V6: Releasing the tensioner automatically sets the tension. Do not lubricate the tensioner.
6. Verify Installation
Double-check the belt is fully seated in every pulley groove along the entire routing path. Confirm it sits squarely within pulley channels.
7. Test & Reconnect
Reconnect the negative battery terminal. Start the engine and operate all belt-driven accessories (A/C, power steering, defroster) for at least 2 minutes. Listen for chirping or squealing, indicating improper tension or misalignment. Visually inspect belt tracking (should run true). Switch off the engine and re-check belt condition.