Critical Precautions for 6.0 Powerstroke Belt Service
Incorrect belt routing or tensioner mismanagement leads to immediate belt failure, component damage, or injury. Adhere strictly to these methods.
Essential Preparation
- Verify Correct Belt: Ensure replacement belt part number matches OEM specifications for length and width.
- Acquire Proper Tools: Use a dedicated serpentine belt tool (e.g., 3/8" drive long-handle wrench) for the spring tensioner. Standard wrenches often slip.
- Clean Work Area: Remove debris near pulleys to prevent contamination.
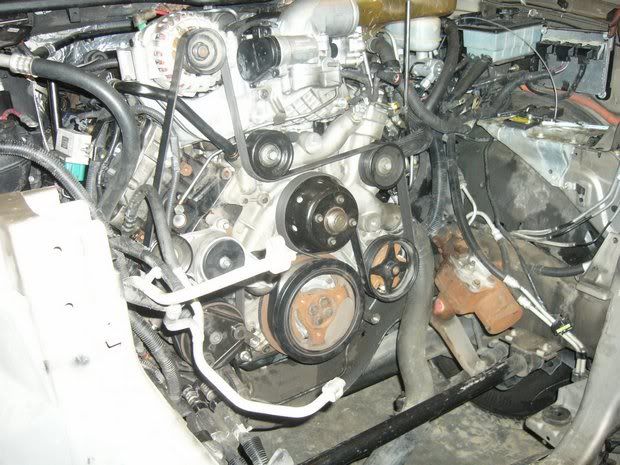
- Document Routing: Take a clear photo or sketch the belt path before removal. Alternatively, locate the routing diagram sticker on the radiator shroud or fan shroud.
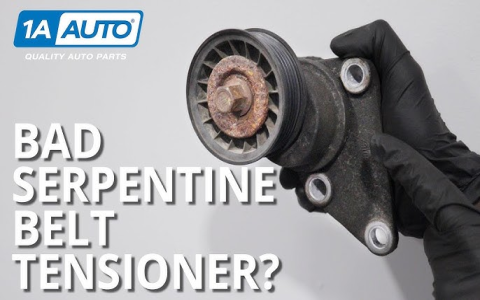
- Check Pulleys: Spin all pulleys (idler, tensioner, fan clutch hub). Replace any exhibiting roughness, grinding noise, or free play. Inspect for severe wear grooves on the tensioner.
Correct Removal Procedure
Apply the belt tool to the tensioner's square drive. Rotate the tensioner clockwise firmly against spring pressure until sufficient slack appears. Carefully slide the belt off the lowest pulley first. Release tensioner slowly. Remove the belt entirely.
Mandatory Installation Sequence
- Set the belt tensioner to its released/rest position.
- Refer strictly to your photo/diagram. Begin routing the belt over all pulleys except the tensioner pulley.
- Pay particular attention to complex areas:
- The alternator pulley must be routed underneath the alternator mounting bracket.
- The crankshaft pulley typically has an inner and outer groove; ensure the belt sits correctly.
- Ensure the belt seats properly within the grooves of all pulleys, especially the crank damper and water pump.
- After routing over all fixed pulleys, apply the tool to the tensioner drive again.
- Rotate the tensioner clockwise steadily to create maximum slack.
- Slide the belt fully onto the tensioner pulley – double-check its seating within the groove.
- Slowly and carefully release the tensioner. Ensure the belt settles smoothly into position without binding.
Verification & Final Checks
- Visually trace the entire belt path against your reference photo/diagram. Confirm every pulley is correctly engaged.
- Rotate the crankshaft pulley clockwise by hand (using a socket/bar) 2-3 full revolutions. Observe the belt tracking – it should center itself in all pulley grooves without walking off.
- Check the belt tensioner arm indicator mark aligns within the acceptable range on its body.
- Start the engine and run it briefly at idle. Immediately inspect for unusual noises (squealing, chirping, grinding) and verify the belt runs smoothly without flapping or walking off pulleys. Shut down immediately if abnormal.
Rushing or skipping verification steps guarantees failure. Precision prevents costly repeat repairs.