
Correctly interpreting the serpentine belt diagram for a 2012 Chevrolet Impala prevents engine damage and costly repairs. Focus on precision and avoid assumptions.
Locate and Verify the Diagram
Find the diagram sticker in the engine bay, often on the radiator shroud or hood. Cross-reference it with reliable sources like vehicle manuals to confirm pulley routes. Ignoring this step leads to routing errors.
Identify Pulley Components
Study each pulley: alternator, power steering pump, A/C compressor, tensioner, and idlers. Note directional arrows indicating belt path. Mistaking idler for a driven pulley is common; verify function to prevent slippage.
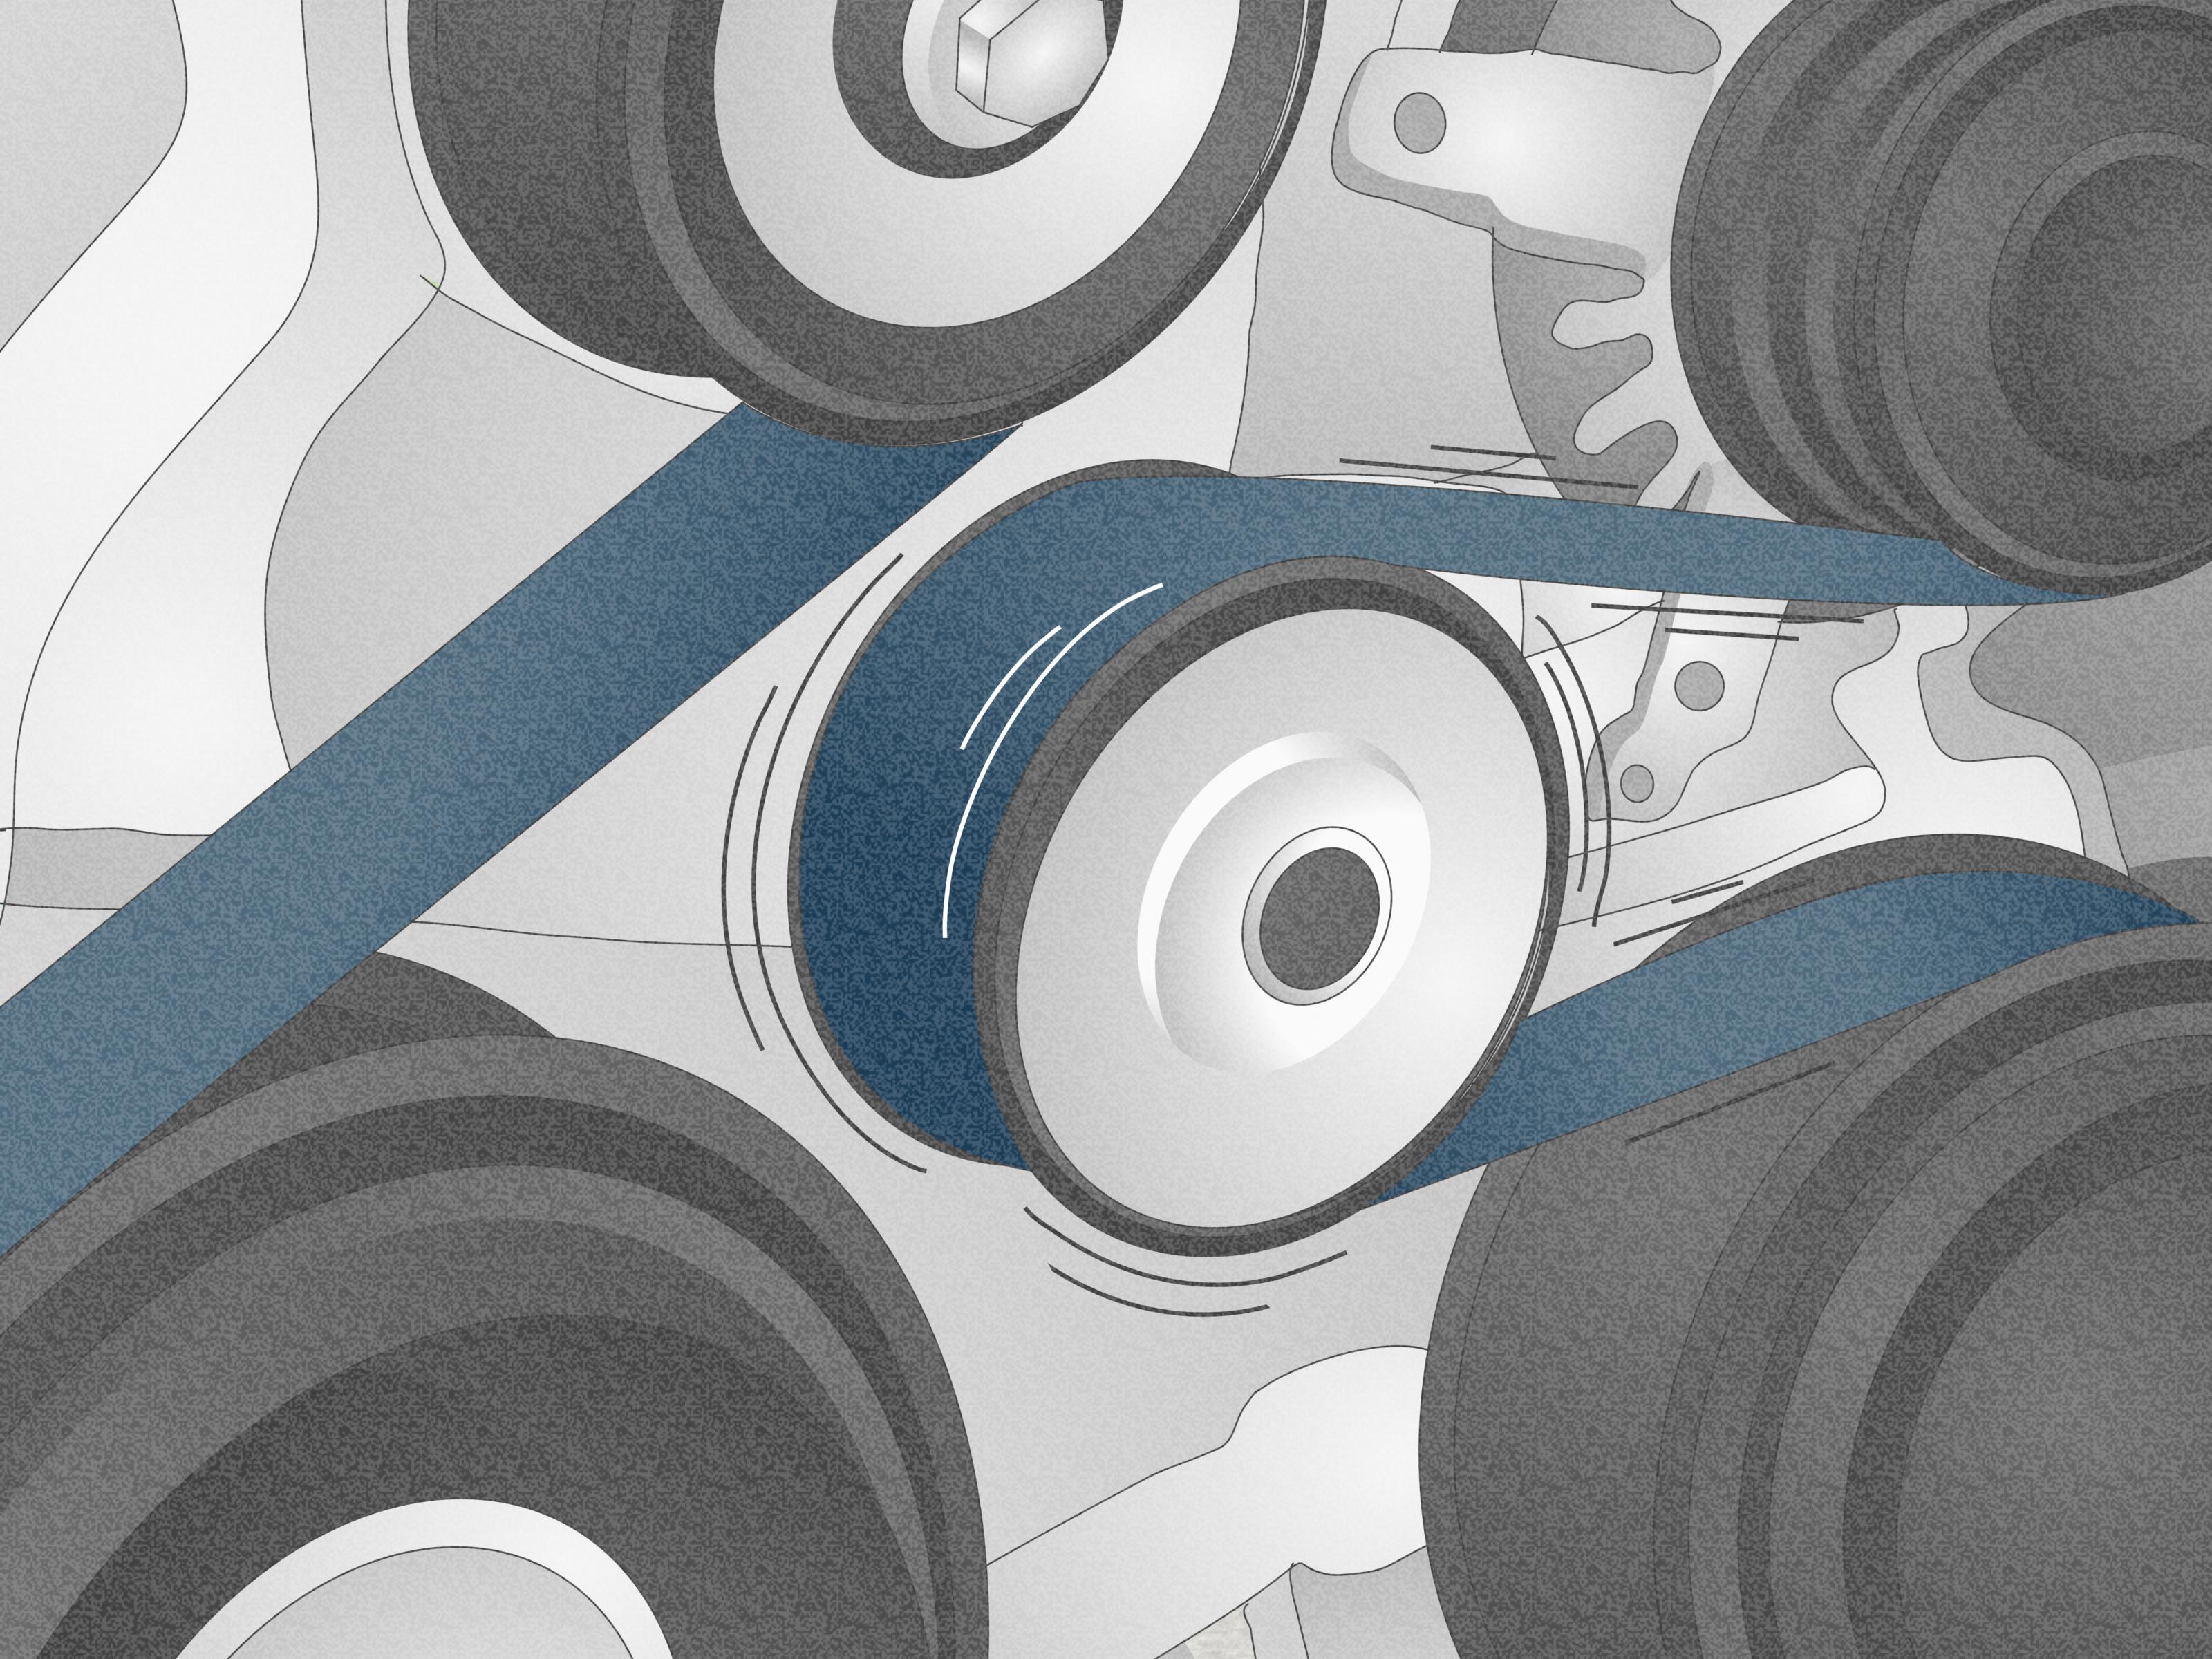
Route Belt Correctly
- Start at the crankshaft pulley, moving belt over smooth idlers first.
- Avoid forcing the belt onto grooved pulleys without tensioner release.
- Confirm each groove aligns, as skipping a pulley causes misalignment and noise.
Rotate the engine manually after installation to test for binding or squealing.
Manage Tensioner Operation
Release tensioner slowly with a breaker bar to avoid damage. Failing to return it properly risks belt failure. Check tensioner condition routinely—worn units cause premature belt wear.
Common Mistakes and Avoidance
- Mistaking Diagram Orientation: Diagrams show engine-side view; always orient with actual engine layout to prevent reverse routing.
- Skipping Component Checks: Inspect all pulleys for damage before installation; debris or wear alters belt path.
- Overlooking Belt Direction: Use ribs to match pulley grooves; backwards installation shreds the belt.
Practice with diagrams offline to build familiarity and reduce errors.