
Tail light wiring issues in Chevy trucks often stem from damaged wires, corroded connections, or faulty components. Addressing them promptly prevents safety hazards and ensures compliance with regulations. Start by gathering tools: multimeter, wire strippers, insulation tape, and your vehicle's wiring diagram.
Diagnosing the Problem
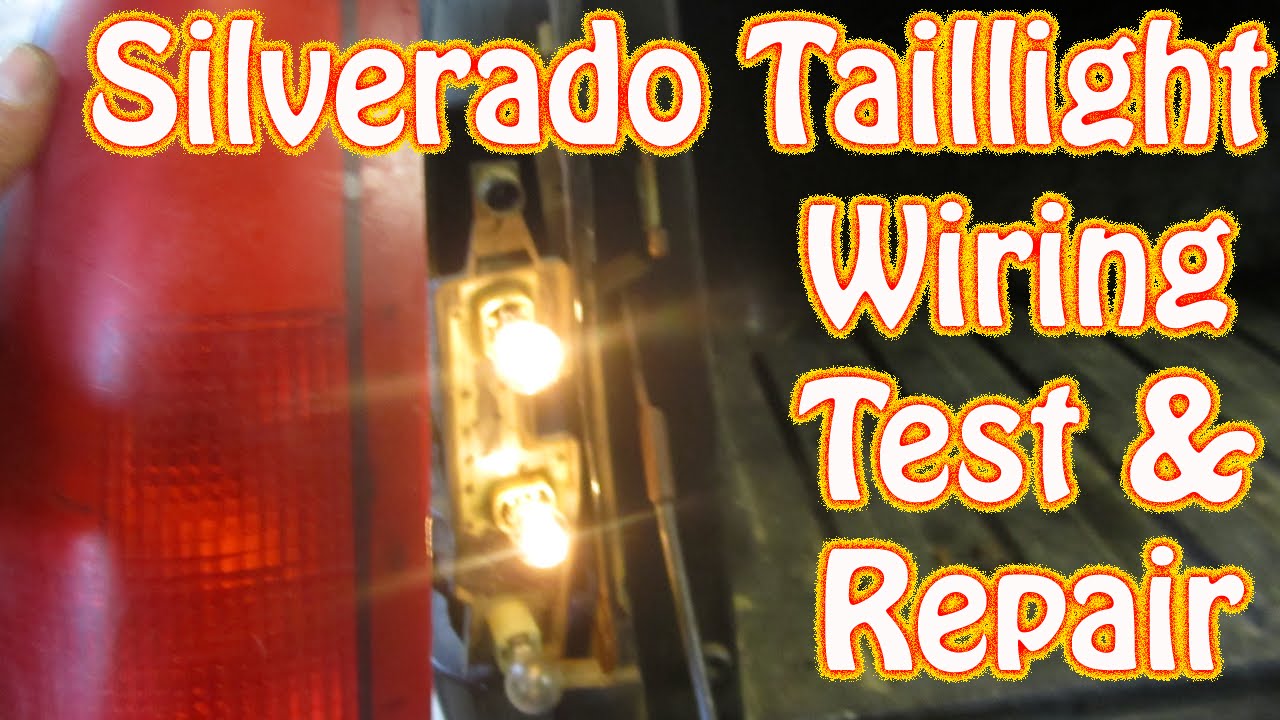
Inspect the tail light assembly for visible damage. Disconnect the battery to avoid shorts before testing. Use a multimeter to check for power and ground continuity:
- Test fuses and relays: Locate the fuse box under the dash or hood; test for blown elements using the multimeter.
- Inspect wiring: Trace the harness from tail light to the power source for exposed or frayed wires.
- Check connectors: Look for corrosion or poor contacts; clean with electrical cleaner if needed.
Repair Steps
Refer to your Chevy truck's wiring diagram for specifics. Repair isolated sections rather than replacing entire harnesses:
- Patch broken wires: Cut out damaged sections and solder in new segments, insulating with heat shrink tubing.
- Secure connections: Replace corroded connectors; ensure snug fits to prevent future failures.
- Test components: If lights remain faulty, test bulbs and sockets; replace damaged parts.
Reconnect the battery and verify function with a test drive in low-light conditions.
Preventive Maintenance
Extend tail light longevity with regular checks:
- Routine inspections: Examine wiring during oil changes for signs of wear.
- Protect connections: Apply dielectric grease to connectors to inhibit corrosion.