Understanding fuel injector wiring diagrams is crucial for diagnosing fuel delivery issues. Below, we cover prevalent problems and simple DIY fixes using basic tools like a multimeter and screwdriver. Always prioritize safety: disconnect the battery before any work.
Common Fuel Injector Wiring Diagram Problems
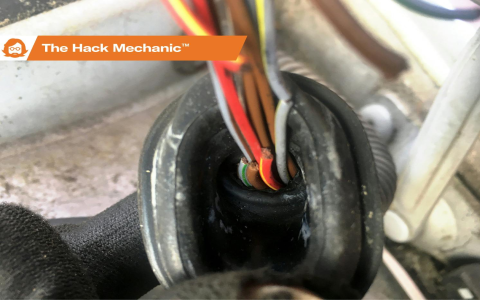
- Broken or disconnected wires: Wires can fray or detach due to vibration or age, causing injector misfires.
- Corrosion at connectors: Moisture exposure leads to greenish buildup, disrupting electrical flow and injector signals.
- Short circuits to ground: Worn insulation causes unintended grounding, triggering blown fuses or erratic injector operation.
- Faulty injector harness: Damaged sections, like pinched cables during engine work, result in inconsistent voltage.
- Poor connections: Loose plugs or pins hinder communication between the engine control unit and injectors.
Easy DIY Fixes at Home
- For broken wires: Inspect visually; splice and solder any breaks, securing with heat-shrink tubing.
- Corrosion cleanup: Disconnect connectors; clean terminals with electrical contact cleaner and a wire brush.
- Short identification: Use a multimeter to check for continuity; insulate exposed areas with electrical tape.
- Harness repair: Replace damaged wire sections with matching gauge wire; test resistance post-repair.
- Tightening connections: Ensure all plugs are fully seated; replace worn connectors if needed.
Regular checks prevent costly repairs and ensure optimal engine performance. Always consult your vehicle's specific diagram for reference.