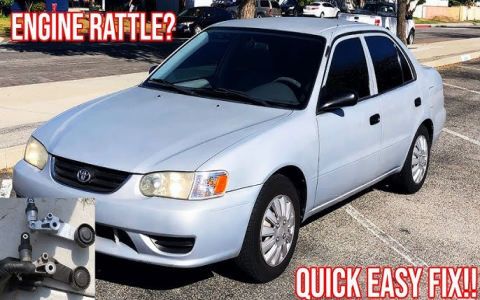
2001 Toyota Corolla Serpentine Belt Diagram & Installation Guide
Replace the serpentine belt on your 2001 Toyota Corolla (with 1.8L 1ZZ-FE engine) using these instructions. Confirm your engine size first.
Required Tools
- New serpentine belt (Correct length for your engine)
- 14mm combination wrench (for tensioner bolt/nut)
- 15mm combination wrench (alternator pivot/bracket bolts, alternator lock bolt)
- Breaker bar or long ratchet handle (optional, may aid tension release)
- Gloves (recommended)
- Flashlight (recommended)
Safety First: Ensure engine is cold and ignition is OFF. Set parking brake.
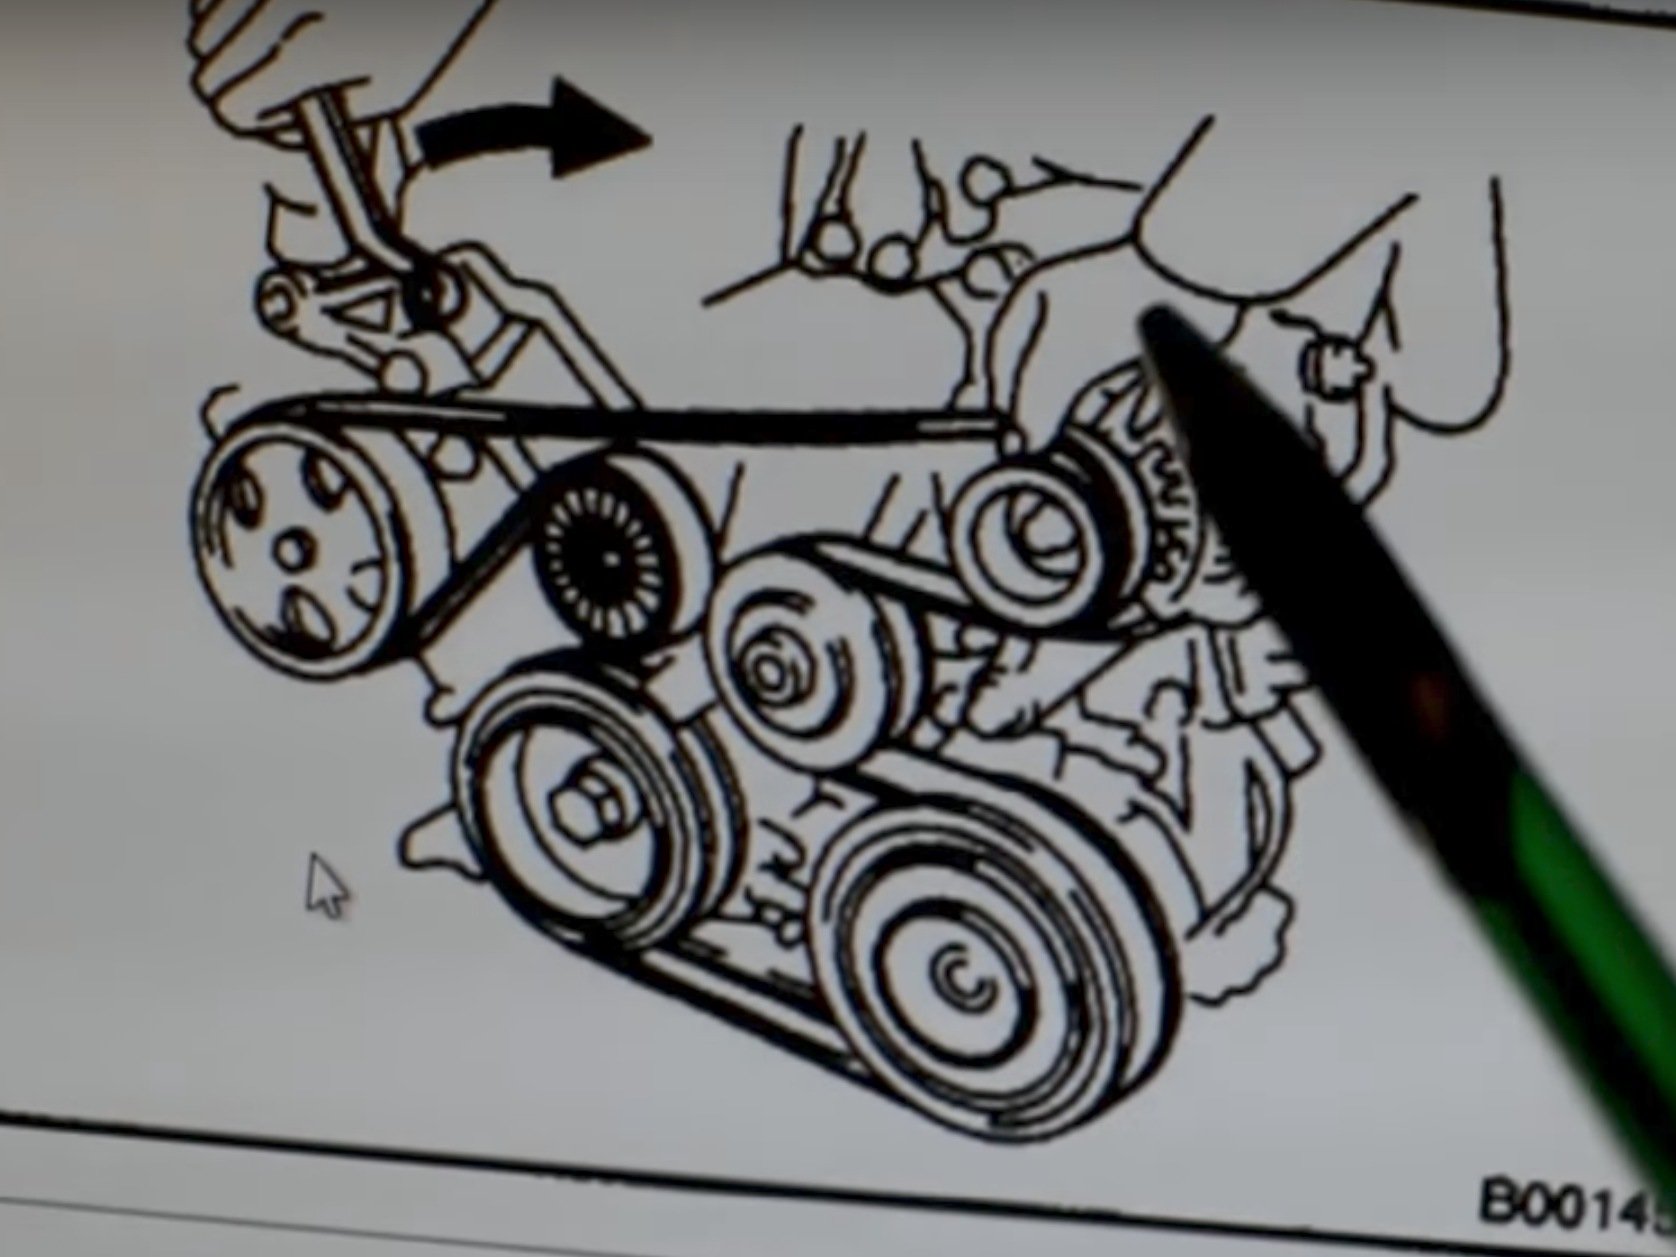
Serpentine Belt Diagram
The belt routing is critical. Observe the original belt path carefully before removal. For the 1.8L engine:
- Starts at the Crankshaft Pulley (largest bottom pulley).
- Goes clockwise over the top of the Alternator Pulley.
- Goes clockwise over the top of the Power Steering Pump Pulley.
- Goes counter-clockwise around the Air Conditioning Compressor Pulley.
- Goes clockwise over the top of the Idler Pulley.
- Goes clockwise over the top of the Water Pump Pulley.
- Finishes passing INSIDE the groove of the Automatic Belt Tensioner Pulley.
Key: The belt runs OVER the Alternator, Power Steering Pump, Idler, and Water Pump pulleys. It runs UNDER (inside the groove of) ONLY the Tensioner Pulley and the A/C Compressor Pulley.
Replacement Procedure
- Release Tension: Locate the automatic belt tensioner (upper left/passenger side). Fit the 14mm wrench on the tensioner's square drive stud (or the bolt/nut head on it). Push the wrench firmly clockwise (towards the passenger side fender) to relieve belt tension. The tensioner arm will move.
- Remove Old Belt: While holding tension released, carefully slip the old belt off ONE of the accessory pulleys (e.g., alternator). Slowly release the tensioner. Remove the belt completely from all pulleys.
- Verify New Belt & Path: Compare the new belt length to the old one. Trace the routing path diagrammed above meticulously using the pulleys.
- Route New Belt (Tensioner LAST): Place the new belt onto all pulleys EXCEPT the Automatic Tensioner Pulley. Ensure correct routing OVER and UNDER pulleys as described. Double-check against your original notes or diagram.
- Engage Tensioner Pulley: Fit the 14mm wrench onto the tensioner drive stud again. Push firmly clockwise to release tension. Slip the belt squarely onto the groove of the Tensioner Pulley while holding tension released.
- Release Tensioner: Slowly release the tensioner wrench. The tensioner will spring back, applying tension to the new belt.
- Inspect Belt: Visually confirm the belt is fully seated in the grooves of ALL pulleys with no twists. It should feel taut. Ensure it runs OVER Alt, PS, Idler, Water Pump, and UNDER A/C Compressor and Tensioner.
Installation Tips
- Diagram is Mandatory: Draw or take a clear phone picture of the old belt routing BEFORE removal.
- Tensioner Stud: Pushing the wrench clockwise on the tensioner's protruding square stud is usually the method. Some tensioners have a bolt/nut head.
- Firm Pressure: The tensioner spring is strong. Use steady force and position yourself safely.
- Routing Check: Re-check the belt path meticulously before starting the engine. Incorrect routing damages belts instantly.
- Old Belt: Keep the old belt as an emergency spare if it's not badly damaged.
Typical Belt Life: Replace every 60,000-100,000 miles. Inspect annually for cracks, glazing, fraying, or excessive wear.