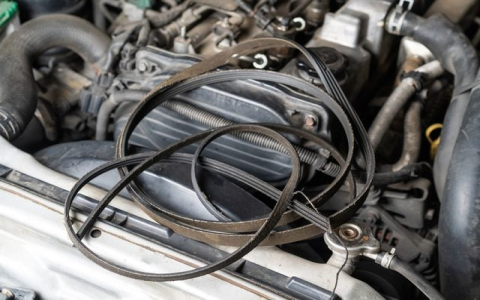
Follow this accurate serpentine belt routing diagram and procedure for the 2005 Chevrolet Malibu. Engine options are the 2.2L L4 (ECOTEC) and 3.5L V6.
Required Tools & Precautions
Tools: Serpentine belt diagram (below), 3/8" drive ratchet with appropriate socket (usually 15mm or 16mm), breaker bar or long handled wrench (optional for extra leverage), flashlight.
Precautions: Park on level ground, engage parking brake. Engine MUST be OFF and cool. Disconnect the negative battery cable if belt contacts alternator terminals. Identify routing diagram labels before removing the old belt.
Belt Tensioner Operation
The automatic tensioner maintains belt tightness. Rotate the tensioner clockwise (as facing the pulley) using the square drive hole or the hex cast into the arm. This relieves tension, allowing belt removal/installation. Release slowly.
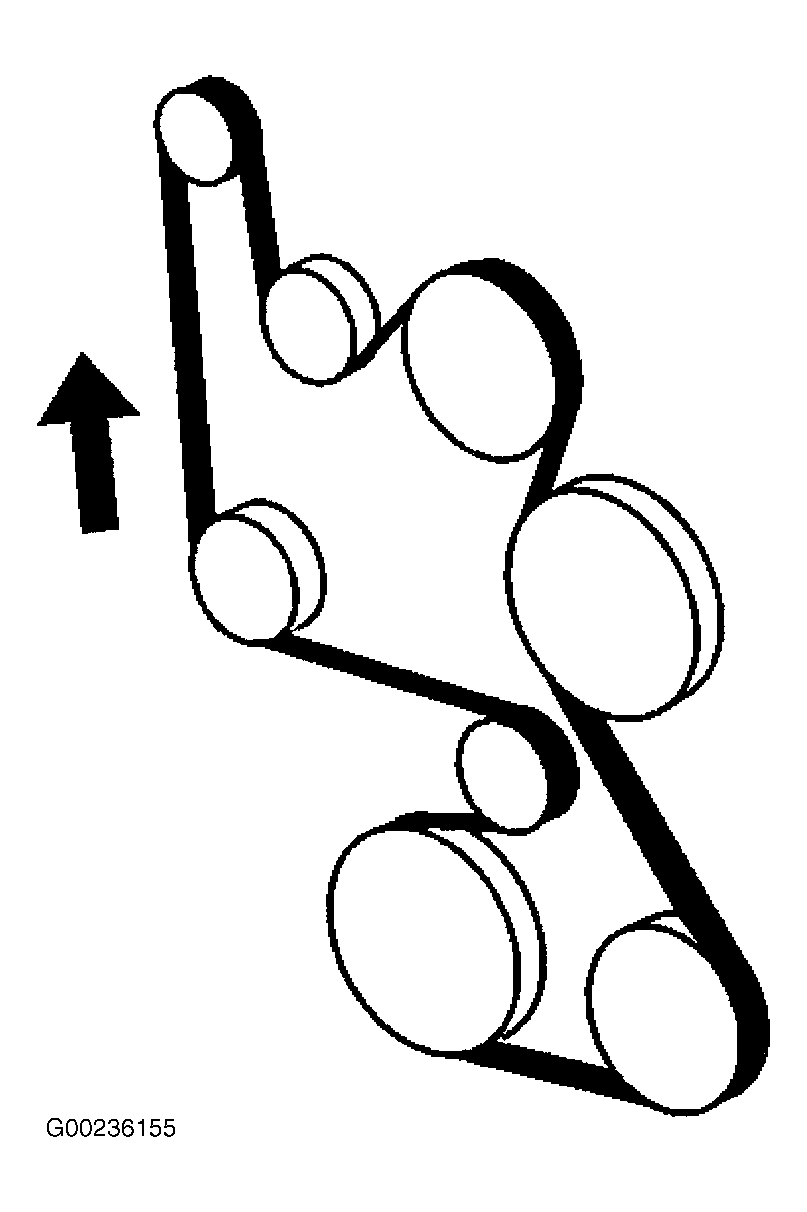
Serpentine Belt Routing Diagram (2005 Chevy Malibu)
View engine from front (accessory side). Routing follows the belt path clockwise.
For 2.2L L4 Engine:
- Start at Automatic Tensioner Pulley (Top)
- Crankshaft Pulley (Bottom Driver Side)
- Idler Pulley (Top Center)
- Air Conditioning Compressor Pulley (Top Passenger Side)
- Power Steering Pump Pulley (Center Passenger Side)
- Alternator Pulley (Bottom Driver Side)
- Back to Tensioner Pulley
For 3.5L V6 Engine:
- Start at Automatic Tensioner Pulley (Top Center)
- Idler Pulley (Center Driver Side)
- Air Conditioning Compressor Pulley (Bottom Passenger Side)
- Crankshaft Pulley (Bottom Center)
- Power Steering Pump Pulley (Center Driver Side)
- Alternator Pulley (Top Passenger Side)
- Back to Tensioner Pulley
Replacement Procedure
- Sketch or photograph the existing belt routing if the diagram is unclear.
- Insert ratchet/breaker bar into the tensioner square drive hole or onto the arm hex.
- Apply firm pressure clockwise to rotate the tensioner fully and relieve belt tension.
- Slip the old belt off the easiest accessible pulley (usually the alternator or idler).
- Slowly release tensioner pressure.
- Remove the old belt completely.
- Route the new belt according to the correct diagram above, ensuring it seats fully in all pulley grooves. Leave the tensioner pulley for last.
- Rotate the tensioner clockwise again to create slack.
- Slip the new belt onto the tensioner pulley, ensuring it's aligned in the groove.
- Slowly release the tensioner, allowing it to apply tension to the new belt.
- Visually verify the belt is correctly routed on every pulley and fully seated in all grooves.
- Reconnect the negative battery cable if disconnected.
Final Checks
- Manually rotate the engine by hand via the crankshaft bolt (clockwise) 2 full rotations to check for binding, noise, or belt misalignment.
- Start the engine and observe belt operation for smooth rotation without slippage or squealing for at least 30 seconds.
- Inspect new belt tension visually; it should deflect ~1/2 inch at the longest span between pulleys under moderate thumb pressure.