
Fixing a faulty Battery Saver Relay on a 2008 Ford Explorer involves locating the fuse box under the dashboard and replacing the relay or fuse. Follow these steps:
Location & Identification
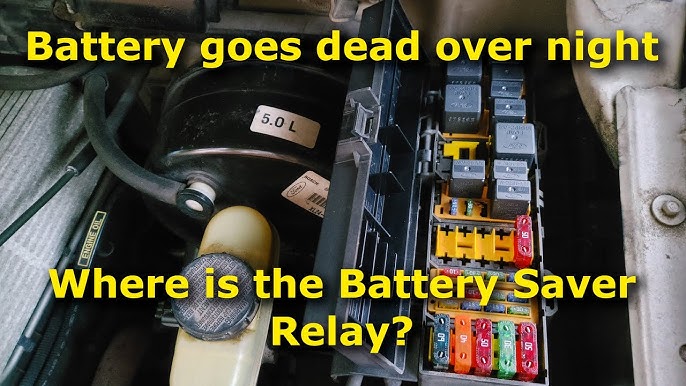
The Battery Saver Relay resides in the Smart Junction Box (SJB), the fuse panel beneath the dash on the driver's side (left side of steering column). Identify the relay using the fuse box diagram label on the SJB cover.
Important: Disconnect the negative battery terminal before starting. Allow ~20 minutes for system discharge.
Tools & Materials
- Fuse puller or needle-nose pliers
- Standard automotive relay matching specs (commonly 20-amp type)
- Flashlight
- Multimeter (optional, for testing)
Repair Steps
- Access the SJB: Remove lower dash trim panel below steering wheel (snap/clips usually, screws may be present).
- Locate Relay: Using the diagram, locate the "Battery Saver Relay". It's typically integrated within the SJB circuit board.
- Check Associated Fuse: Identify the fuse powering the relay circuit (often #24, 7.5A Mini fuse). Check visually or with multimeter for continuity. Replace if blown.
- Test/Replace Relay:
- Firmly pull the relay straight out.
- Optionally test relay terminals for continuity using multimeter (consult pinout spec).
- Insert replacement relay matching position/pin count.
- Reconnect Battery & Test:
- Reconnect negative battery terminal.
- Turn ignition ON (engine off). Test interior lights, radio memory, power windows.
- Ensure battery doesn't drain abnormally with key off.
- Reassemble: Secure dash trim panel after confirming fix.
Critical Notes
- A faulty relay often indicates deeper issues: Replacing it temporarily solves symptoms. Persistent drain requires parasitic draw testing to find root cause (e.g., bad module, short circuit).
- Inoperative Features: If interior lights/power outlets still work immediately after key-off despite relay replacement, underlying drain likely remains.