To install a camshaft sensor wiring diagram for DIY projects, focus on proper connection, referencing vehicle-specific diagrams while ensuring safety. Always disconnect the negative battery terminal before starting to prevent electrical shorts or injuries.
Required Tools and Materials
- Digital multimeter for voltage and continuity testing
- Standard screwdriver set for sensor mounting
- Wire strippers and crimping tools for connections
- Electrical tape or heat shrink tubing for insulation
- Replacement camshaft position sensor compatible with your vehicle model
- Vehicle-specific repair manual for wiring diagram details
Safety Precautions
- Always disconnect the battery ground cable to avoid shocks.
- Work on a cool engine to prevent burns or component damage.
- Ground yourself before handling sensors to avoid static discharge.
Installation Steps
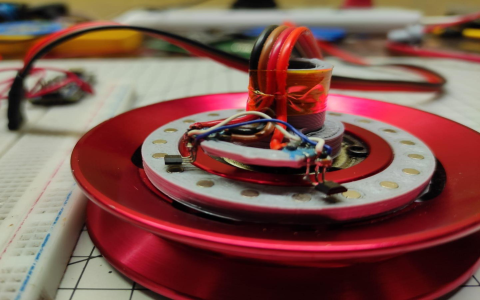
Locate the camshaft sensor near the engine head, often secured with bolts. Remove the old sensor if replacing, and inspect wiring for damage. Clean the mounting surface before proceeding.
- Refer to the wiring diagram: Identify connector pins using multimeter testing.
- Connect wires: Match sensor leads to harness—common configurations include power (5V or 12V), ground, and signal wires.
- Secure connections: Use crimp connectors and insulate with tape or tubing.
- Remount the sensor: Tighten bolts to manufacturer torque specs, avoiding over-torque.
Understanding the Wiring Diagram
Camshaft sensor wiring diagrams vary by make, model, and year, but a standard setup includes three-wire systems:

- Power wire: Often red or pink, connects to 5V or 12V reference voltage source.
- Ground wire: Typically black or brown, attaches to engine chassis ground point.
- Signal wire: Usually white or green, transmits position data to the ECU.
Use a multimeter to verify pinouts: Power wire should show constant voltage, signal wire fluctuates, and ground has 0V resistance to chassis. For specific codes like GM or Ford diagrams, consult the manual to ensure correct mapping.
Testing the Installation
Reconnect the battery and start the engine to monitor for proper function. Check for DTC codes using an OBD-II scanner; if issues arise, retest connections with the multimeter for continuity and correct voltages.