
Removing an under-hood fuse box requires precision to avoid electrical damage or component failure. Follow this guide methodically.
Tools Required
- Socket wrench set with 8mm-12mm sockets
- Trim removal tools or flat-head screwdriver
- Needle-nose pliers for terminal connectors
- Safety gloves and eye protection
- Vehicle-specific repair manual for wiring diagrams
Removal Procedure
Step 1: Disconnect battery
Remove negative (-) terminal first using 10mm socket. Secure cable away from battery post.
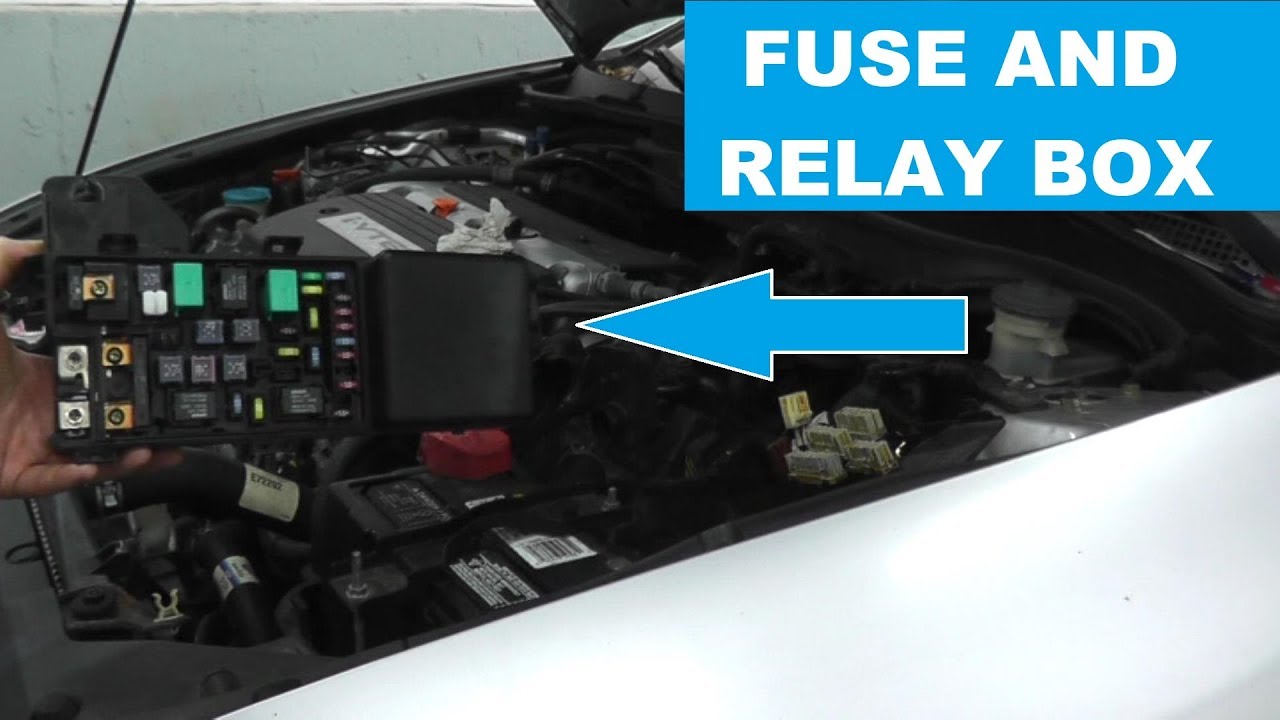
Step 2: Access fuse box
Remove engine cover (if equipped) by lifting straight up. Clear debris around box with compressed air or brush.
Step 3: Release wiring harnesses
Flip all locking levers to open position. Carefully wiggle harness connectors sideways while pulling – never yank wires.
Step 4: Remove mounting hardware

Unbolt mounting brackets using socket wrench (typically 8mm or 10mm). Note bolt placement for reassembly.
Step 5: Extract fuse box
Lift assembly straight up while supporting wiring. Maintain 6-inch wire slack to prevent tension on engine harness.
Critical Safety Notes
- Verify battery disconnect with multimeter (0V between terminals)
- Label all connectors with masking tape before disconnection
- Do NOT force stuck connectors – check for secondary release tabs
- Protect open connectors from moisture with plastic bags
Installation requires reverse sequence with torque specs from vehicle manual. Always test all electrical systems before engine restart.