Essential Tools and Preparation
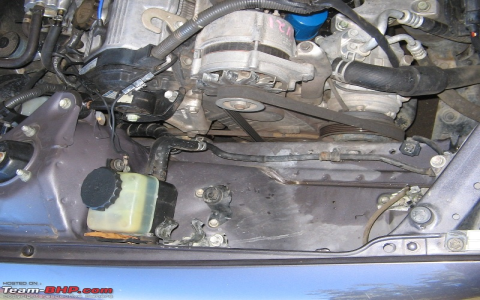
Gather these items before starting: gloves, eye protection, a wrench set (including a suitable size for the tensioner), and the specific belt routing diagram from a factory service manual for your 2004 Toyota Camry. Disconnect the negative battery terminal to prevent accidental engine start. Park on a level surface, let the engine cool completely, and review the diagram to identify components like the alternator, power steering pump, air conditioning compressor, and serpentine belt tensioner.
Locate and Loosen the Tensioner
Refer to the diagram to find the tensioner pulley. Use your wrench to rotate the tensioner counterclockwise, releasing belt tension until the belt slackens. Never force the wrench to avoid component damage. The diagram shows pulley positions clearly, enabling precise movement.
Remove the Old Belt
Slip the worn belt off the pulleys by hand, following the routing map step-by-step. Inspect the diagram to note how the belt wraps around each pulley correctly. Compare the old belt to the new one for matching dimensions, length, and grooves to prevent routing errors.
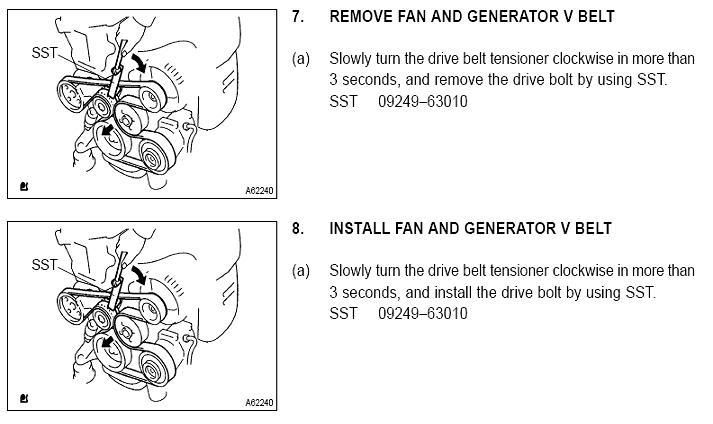
Install the New Belt
Position the new belt onto the pulleys based solely on the diagram. Ensure it aligns with tensioner placement details. Rotate the tensioner to retract it fully, slide the belt into final position, and slowly release the tensioner. Confirm the belt sits properly on all pulleys as per the diagram's guide.
Final Checks and Testing
Reconnect the battery terminal. Start the engine and idle briefly. Listen for unusual squealing indicating misalignment or improper tension. Verify smooth pulley rotation without slippage using the diagram for reference. If stable, your DIY belt replacement is complete.