Proper serpentine belt routing is critical for 2009 Camry models (especially V6). Using the underhood diagram ensures correct installation and prevents accessory damage or belt failure. Always disconnect the negative battery cable before starting.
Locating and Understanding the Diagram
The belt routing diagram is typically found on a sticker affixed to the underside of the hood near the radiator support or on the upper radiator fan shroud. It may also be on the strut tower brace. This diagram clearly illustrates the path the belt must take around each accessory pulley, tensioner, and the crankshaft.
Key Steps for Installation Using the Diagram
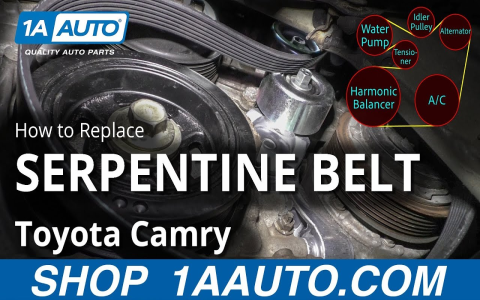
- Identify Component Labels: Match the symbols/labels on the diagram (e.g., ALT for alternator, PS for power steering pump, AC for A/C compressor, CKP for crankshaft pulley, T/ID for tensioner/idler pulley) to the actual components in your engine bay.
- Release Belt Tension: Locate the automatic belt tensioner. Insert a long breaker bar or serpentine belt tool into the tensioner's square drive socket. Rotate the tensioner clockwise (viewed from the front of the vehicle) against its spring pressure to create slack. Do not rotate counterclockwise.
- Remove Old Belt: Slip the old belt off one of the accessory pulleys while maintaining tensioner pressure, then release the tensioner slowly and remove the belt completely. Compare the old belt's path to the diagram if uncertain.
- Route New Belt Using Diagram: Carefully follow the path shown on the diagram. Start by placing the belt over the largest pulleys (usually crankshaft and A/C compressor), then work around the smaller accessory pulleys and idlers. Ensure the belt ribs are seated correctly within the grooves of all pulleys. The tensioner pulley is usually routed last.
- Apply Tension: Again, rotate the tensioner clockwise to create maximum slack and slip the belt fully onto the tensioner pulley. Slowly release the tensioner to apply spring pressure to the new belt. Do not pry the belt onto a pulley; create enough slack.
Critical Verification Checks
- Visual Inspection: Double-check the entire routing path against the diagram point-by-point. Pay special attention to where the belt passes between pulleys and around the tensioner.
- Rib Engagement: Ensure all belt ribs are seated deep within the grooves of every pulley, with no ribs riding up on a flange.
- Tensioner Indicator (If Applicable): Some tensioners have a mark indicating the correct tension range. Verify it falls within this range after installation.
- Function Check: Reconnect the battery. Start the engine and observe the belt for a few seconds. It should run smoothly without wobble, squealing, or jumping off pulleys. Turn on accessories (A/C, headlights) to load the system.
- "Quarter-Turn" Test (Manual Check): With the engine OFF, press firmly on the longest accessible span of the belt midway between pulleys. It should deflect approximately 1/4 inch (6-7mm) under moderate thumb pressure.