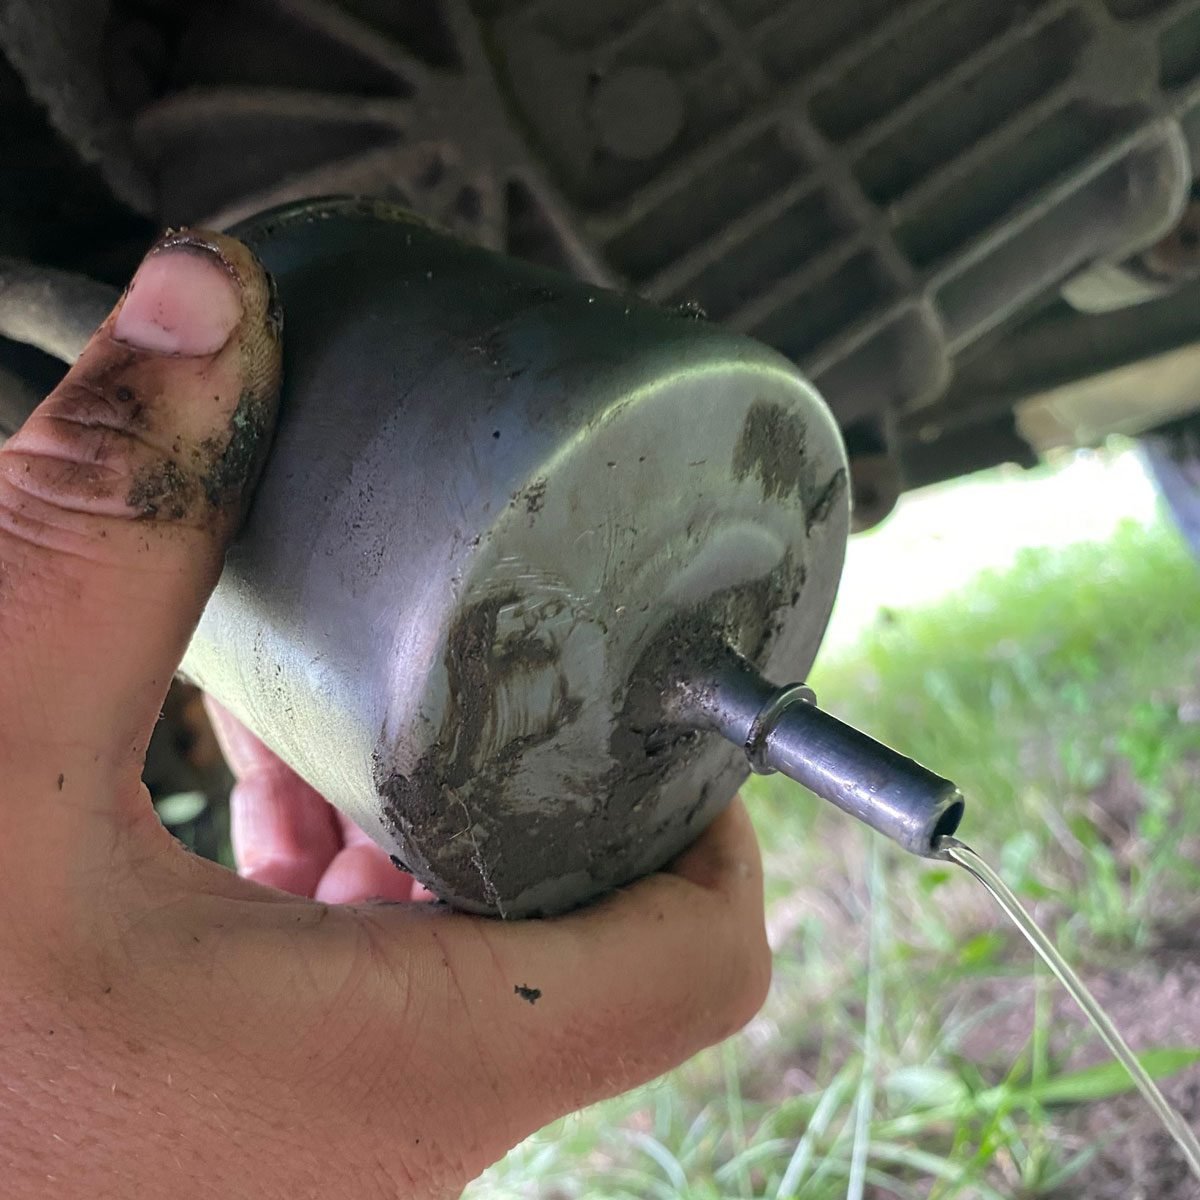
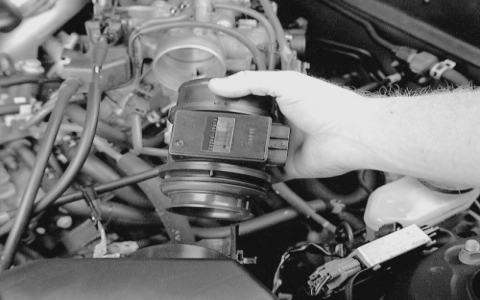
Locate the Fuel Pump Module: The fuel filter is integrated into the fuel pump assembly, located inside the fuel tank beneath the rear seat cushion on most Altima models. Access requires lifting the rear seat bottom cushion.
Tools & Parts
- New fuel filter (specific to your Altima model year)
- Fuel pump assembly gasket/seal (essential replacement item)
- Small Torx bit set (commonly T20, T25, T30)
- Needle-nose pliers or fuel line disconnect tools
- Socket wrench set
- Safety glasses & nitrile gloves
- Shop towels for spill containment
Replacement Steps (Approx. 5 Minutes with Prep)
1. Depressurize Fuel System: Locate the fuel pump fuse or relay in the engine compartment fuse box. Start the engine and let it run until it stalls. Crank the engine for 5 seconds to fully depressurize. Turn ignition OFF.
2. Access Fuel Pump: Carefully remove the rear seat bottom cushion. Peel back the carpet/insulation over the access panel. Remove the access panel retaining screws using the appropriate Torx bit.

3. Disconnect Components: Wear safety glasses and gloves. Unplug the electrical connector(s). Use needle-nose pliers or disconnect tools to carefully release the fuel supply and return line quick-connect fittings. Note orientation before disconnecting. Set aside the lock ring removal tool if provided.
4. Remove Lock Ring & Lift Assembly: Carefully unscrew the large plastic lock ring counter-clockwise (may require a blunt tool and light tapping). Lift the fuel pump assembly straight up out of the tank, angling slightly to clear the fuel level sender float. Avoid damaging the float arm.
5. Replace Filter & Seal: The filter is integral to the fuel pump module. Replace the entire module. Clean the fuel tank mounting surface meticulously. Install the new pump/filter assembly with a brand-new seal. Ensure the seal sits perfectly in the groove.
6. Reinstall: Carefully lower the assembly into the tank, aligning tabs correctly. Hand-tighten the lock ring clockwise until snug (do not overtighten). Reconnect the fuel lines until they audibly "click". Plug in the electrical connector(s) securely.
7. Test for Leaks: Reinstall the access cover and seat cushion. Turn the ignition to the ON position (do not start) for 2-3 seconds, then OFF. Repeat 2-3 times to pressurize. Inspect carefully for leaks around the seal and connections. Address any leaks immediately.

Note: Newer Altimas may have a "lifetime" filter non-serviceable separately. Consult specific model year service information. Always disconnect the negative battery terminal for added safety. This procedure assumes basic mechanical aptitude and proper tool access.

