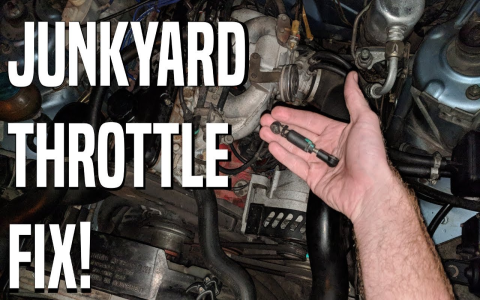
Replacing a damaged throttle body hose prevents vacuum leaks and ensures proper air-fuel mixture. Follow this guide for a safe replacement.
Required Tools and Materials
- Replacement throttle body hose (OE-specified size/material)
- Flat-head screwdriver or hose clamp pliers
- Safety gloves and goggles
- Isopropyl alcohol and lint-free cloth
Safety Precautions
- Disconnect battery: Remove negative terminal to disable accidental ignition.
- Cold engine only: Work when coolant temperature is below 120°F (49°C).
- Label hoses: Tag adjacent vacuum lines to avoid misrouting.
Throttle Body Hose Routing (Typical Configuration)
Standard layout components:
- Primary air intake hose: Connects air filter housing to throttle body inlet (large diameter).
- PCV ventilation hose: Links valve cover port to throttle body base (smaller diameter).
- Brake booster vacuum line: Attaches between throttle body spacer and booster assembly.
Verify specific routing in your vehicle’s service manual before disassembly.

Replacement Procedure
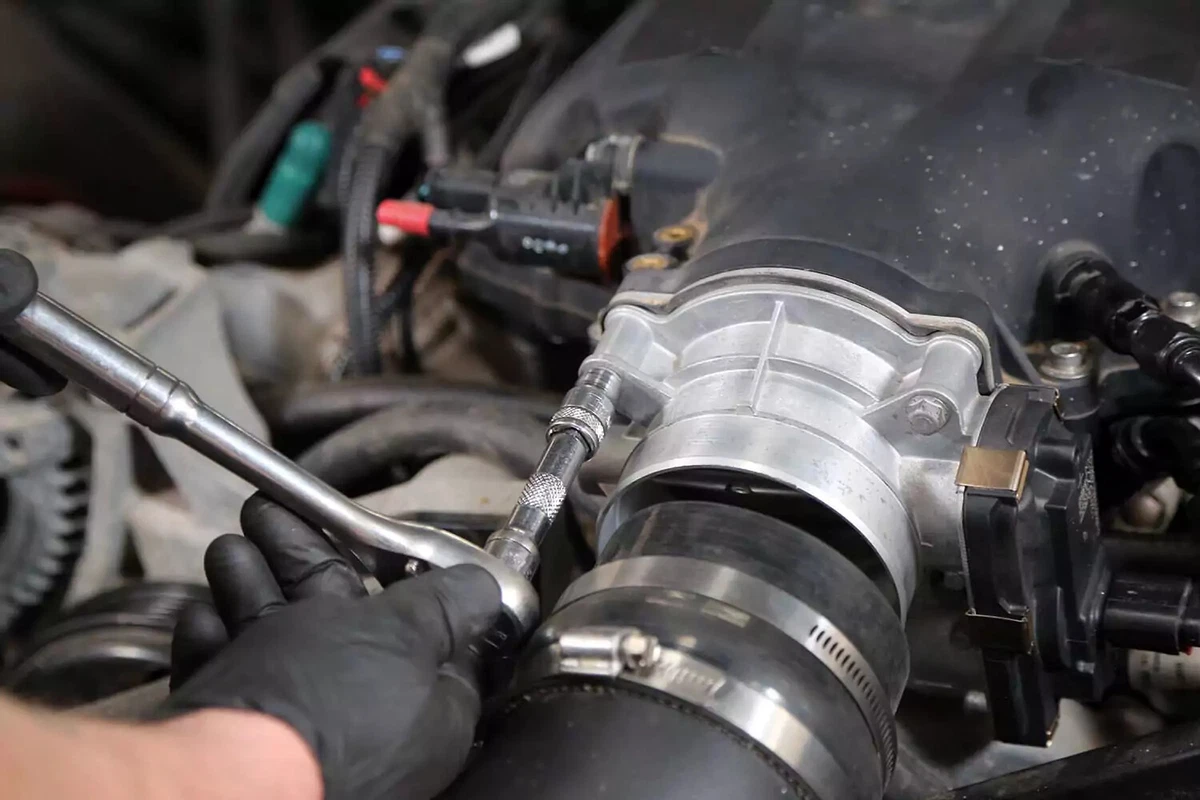
Step 1: Release clamp tension at both hose ends using screwdriver or pliers. Twist the hose gently to break sealant bond.
Step 2: Clean throttle body and intake manifold ports with isopropyl alcohol. Remove debris with cloth.
Step 3: Slide new hose onto ports by 1.5 inches (3.8 cm). Ensure no kinks or stretching.
Step 4: Position clamps over factory crimp marks (typically ¼ inch/6mm from hose ends). Tighten until slight resistance occurs.
Step 5: Reconnect battery. Start engine and check for:
- Hissing sounds (indicates vacuum leak)
- Idle fluctuations above ±100 RPM
Misrouted hoses cause immediate drivability issues. Double-check connections against manual diagrams before test drive.