2003 Ford Focus Serpentine Belt Replacement Procedure
Preparation & Safety:
- Ensure the engine is cold.
- Park on a level surface, engage the parking brake firmly.
- Disconnect the negative battery terminal to prevent accidental engine start.
- Gather tools: Socket wrench, appropriately sized socket (typically 13mm or 15mm), long extension (minimum 18 inches), flashlight. Gloves recommended.
Accessing the Belt:
- Open the hood and locate the serpentine belt system at the front of the engine.
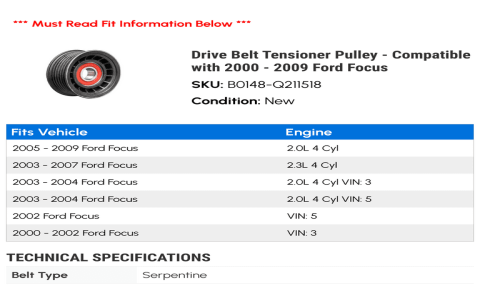
- Identify the automatic tensioner pulley. It is typically spring-loaded and has a square hole designed for a 1/2" drive socket wrench or breaker bar.
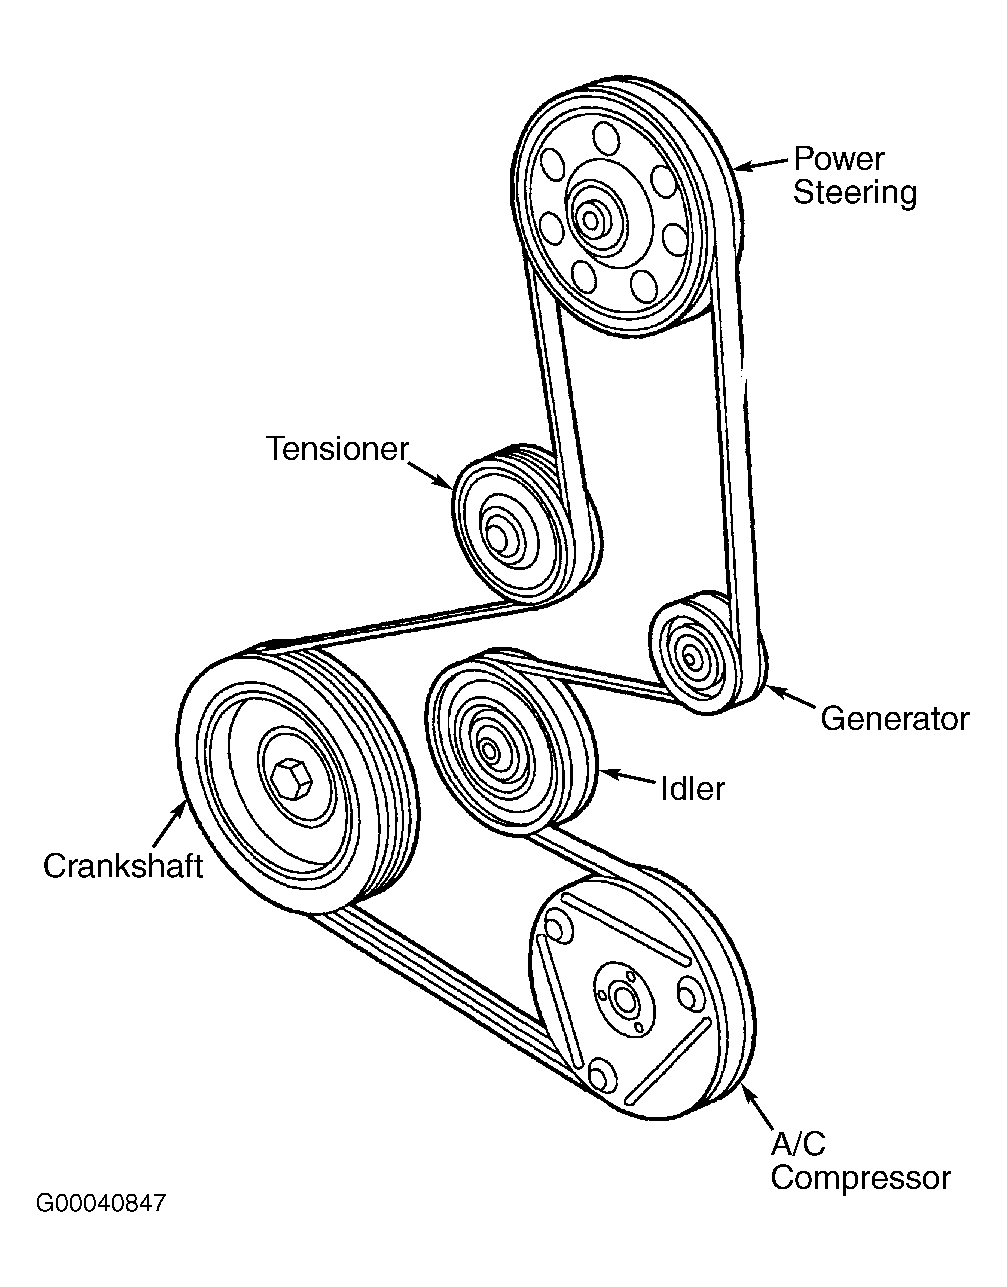
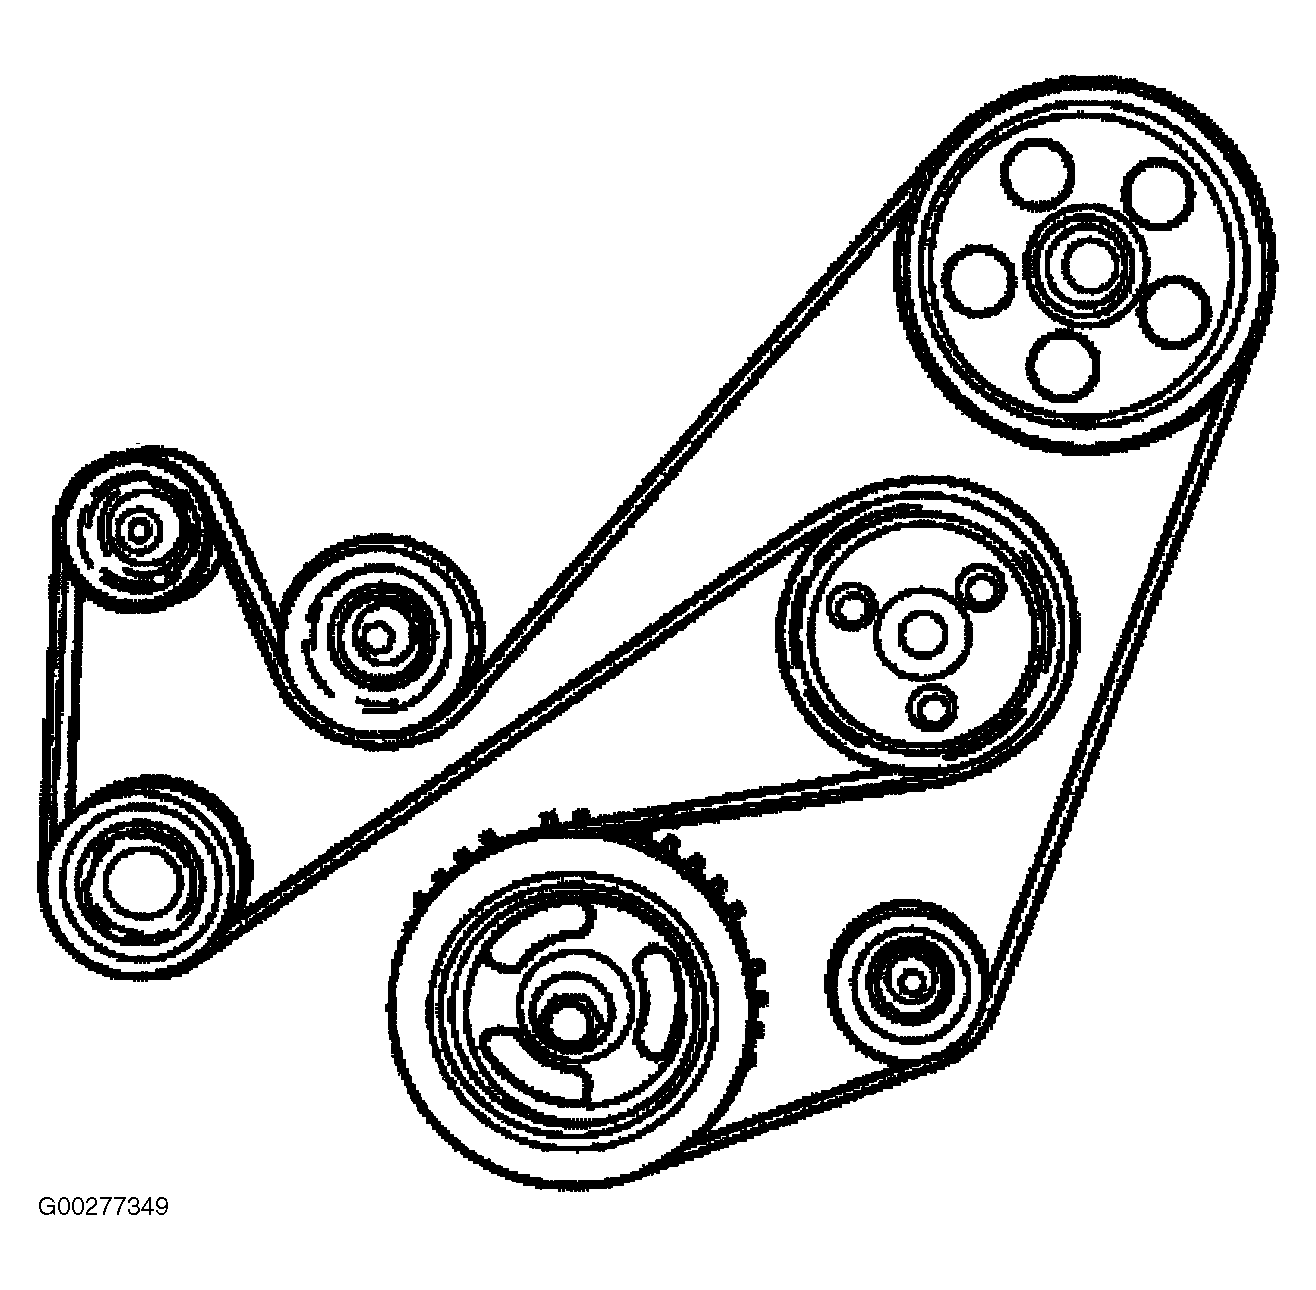
Belt Routing Diagram (Crucial Step):

Carefully sketch the existing belt's routing path BEFORE removal, OR use the diagram below:
- Crankshaft Pulley (Bottom Pulley)
- Water Pump Pulley
- Alternator Pulley
- Idler Pulley (Some configurations have an idler; Zetec engine generally does not use an idler)
- Power Steering Pump Pulley
- Air Conditioning Compressor Pulley
- Automatic Tensioner Pulley
Standard Routing (Typically clockwise around the tensioner): Crankshaft Pulley → Water Pump Pulley → Alternator Pulley → Power Steering Pump Pulley → A/C Compressor Pulley → Automatic Tensioner Pulley → Back to Crankshaft Pulley. Note: Routing may vary slightly without an idler.
Releasing Tension & Removing Belt:
- Position the wrench/breaker bar firmly into the square hole on the tensioner arm.
- Apply steady force in the direction indicated by an arrow on the tensioner housing (usually rotating towards the front passenger side / firewall). This compresses the spring and loosens the belt.
- While holding the tensioner released, carefully slip the belt off one of the accessible pulleys (often the alternator or power steering pump).
- Slowly release the tensioner pressure. Remove the old belt completely.
Installing the New Belt:
- Confirm the new belt is the correct size and type for your specific 2003 Focus engine.
- Position the new belt onto all pulleys EXCEPT the tensioner pulley, following the routing diagram exactly. Ensure it sits correctly in all grooves.
- Insert the wrench/breaker bar back into the tensioner square hole.
- Apply force in the same direction as before to release the tensioner fully.
- Slip the belt onto the tensioner pulley while it is held in the released position.
- Slowly and carefully release the tensioner. Verify the belt snaps firmly into position on all pulleys.
Final Verification:

- Re-trace the entire belt path using the diagram, confirming every groove is seated correctly. A misrouted belt will fail instantly.
- Reconnect the negative battery terminal.
- Start the engine briefly. Listen for any chirping, squealing, or slapping noises. Turn on A/C and power steering to check under load. Ensure smooth operation with no wobble.
- Inspect the belt visually with the engine off to ensure it tracks straight on all pulleys without riding off.

