Preparation and Safety
Disconnect the vehicle's negative battery terminal before starting to prevent electrical shorts or damage. Gather tools: wire strippers, crimp connectors, multimeter, and a wiring diagram specific to the 2003 Ford F150. Ensure the new radio unit matches the F150's specifications.
Removing the Factory Radio
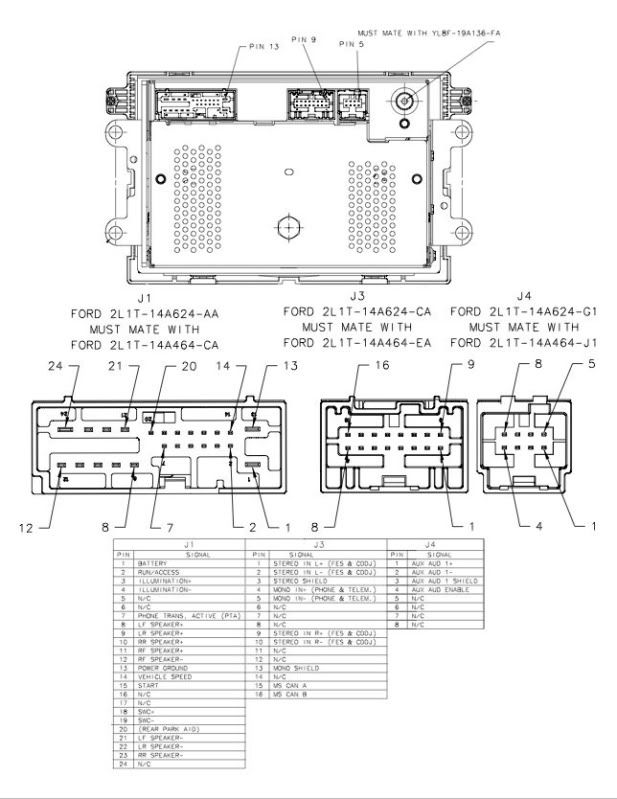
Use a trim removal tool to pry off the dash panel around the radio. Unscrew any mounting bolts securing the unit. Carefully slide out the factory radio and disconnect all wiring harnesses and antenna plug. Label connectors for easy reinstallation reference.
Identifying Wiring Colors and Functions
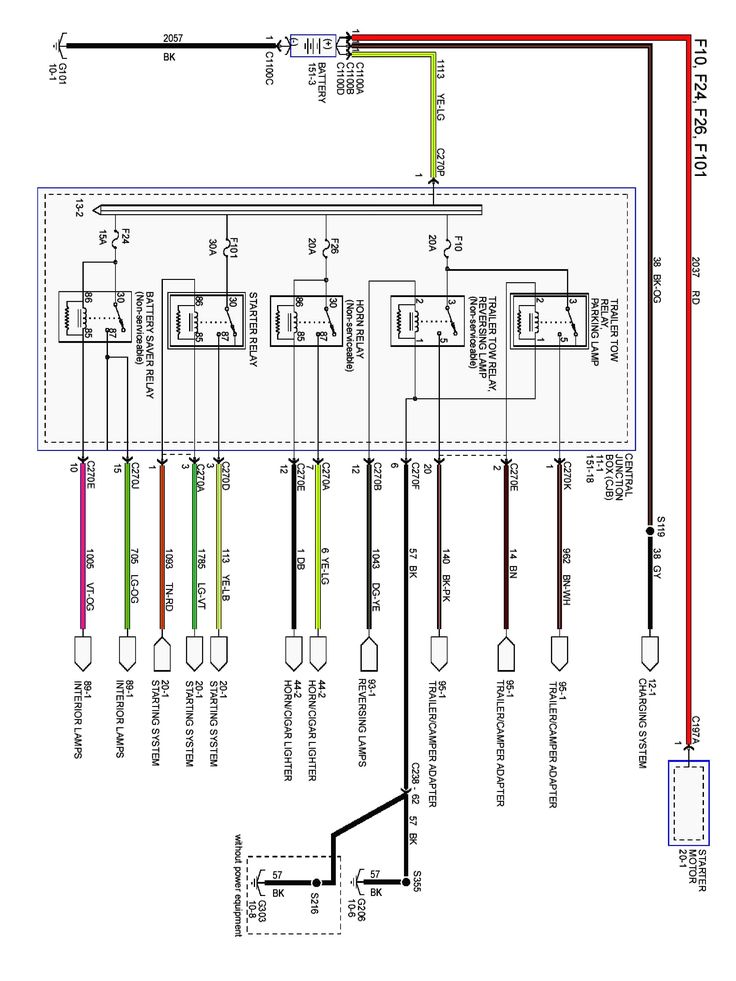
Refer to the standard wiring diagram for the 2003 F150:
- Constant Power (12V+ Memory): Yellow wire
- Ignition/Accessory Power (12V+ Switched): Red wire
- Ground: Black wire
- Illumination: Light blue/red stripe wire for dimmer control
- Front Left Speaker (+): Dark green wire, Negative: Black/white stripe
- Front Right Speaker (+): Purple wire, Negative: Black/green stripe
- Rear Left Speaker (+): Blue/orange stripe wire, Negative: Gray/orange stripe
- Rear Right Speaker (+): Blue/white stripe wire, Negative: Gray/white stripe
Confirm functions with a multimeter: test for voltage in key positions and continuity to ground.
Connecting the New Radio
Strip wire ends 1/4 inch. Use crimp connectors or solder to attach the new radio harness:
- Match F150 wires to the aftermarket harness (e.g., constant power to yellow, ignition to red, ground to black).
- Connect speaker wires using proper polarity to avoid phase issues.
- Secure antenna adapter plug to the antenna input on the new radio.
Tape and organize wires to avoid interference or strain.
Testing Before Final Install
Reconnect the battery negative terminal. Turn the ignition to accessory and test radio functions: power on, station tuning, volume control, and speaker output. Check for any distortions or no-sound issues indicating incorrect wiring. Use the multimeter to verify connections if problems arise.
Final Installation
Once confirmed, slide the new radio into the dash mount. Screw in mounting bolts and snap the dash panel back. Route excess wiring neatly behind the unit to prevent rattles. Dispose of old components safely.