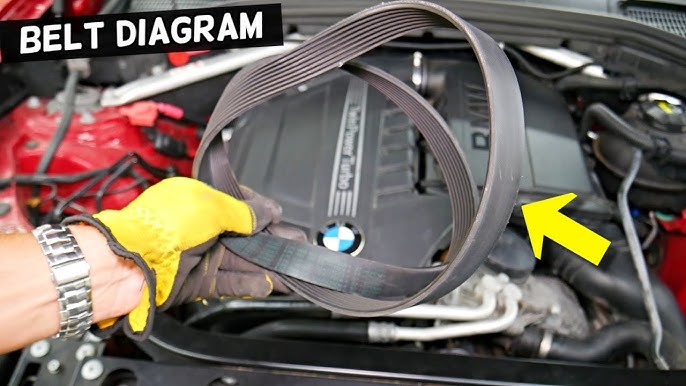
For the 2011 BMW 535i (N55 engine), accessing a correct serpentine belt diagram is crucial for proper routing during replacement. Here are the best free viewing options:
1. BMW Repair Information System (TIS)
Best Official Source: The most accurate and authoritative diagram originates from BMW's technical documents.
- Locate BMW TIS Online access. Subscription is typically required, but dealers or authorized repair shops often grant access via their public terminal computers.
- Search for "Serpentine Belt" under the "Engine Electrical Systems" section for the 2011 535i (N55 engine).
- Provides the exact diagram, routing specifications, and removal/installation procedures.
2. Third-Party Repair Databases
Library/Partner Access:
- Many public libraries offer free online access to automotive repair databases for cardholders. Check your local library's website for "Auto Repair Resources".
- Databases like AllDataDIY or AutoMate contain factory-level repair information, including diagrams.
- Navigate to the 2011 BMW 535i, then look under "Engine Mechanical" > "Drive Belt" or "Accessory Drive".
3. Online Enthusiast Forums & Manuals
Free Community Resources:
- Dedicated BMW forums are valuable sources.
- Search for threads titled "2011 535i Serpentine Belt Routing" or "N55 Belt Diagram". Members often upload official PDF excerpts or clear photos of their own.
- Look in specific E60/E61 (5 Series) or N55 engine subforums.
4. Owner's Manual/Engine Bay Sticker
Physical Reference Checks:
- While less common, some vehicles have a routing diagram sticker affixed to the underside of the hood or near the radiator support.
- Consult your owner's manual index for "Engine Compartment" diagrams – it may include belt routing.
Standard Routing Schematic (Verify for Your Specific VIN!)
Typical N55 Routing (Vehicles built after 03/2010):
- Start at Crankshaft Pulley (Bottom center).
- Go clockwise over the Alternator Pulley (Right side, upper middle).
- Down to the Tensioner Pulley (Spring-loaded idler, below alternator).
- Over the Air Conditioning Compressor Pulley (Left side).
- Finish at the Idler Pulley (Upper left) before returning to Crankshaft Pulley.
Critical: Always double-check the routing against a verified source (TIS, reputable repair database, or forum-confirmed diagram) before finalizing tensioner release. Incorrect routing causes immediate belt failure.